- Home
- Wood carving gnomes
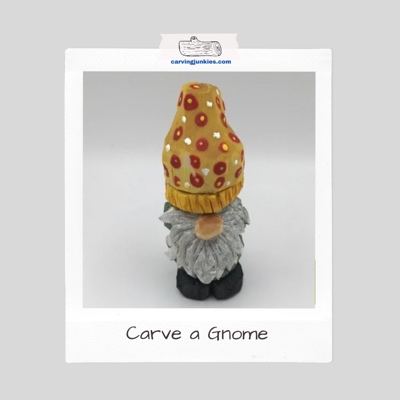
- Carve a gnome
Fun carve a gnome tutorial
This little whittle is super cute and easy to carve.
LEVEL: EASY
Looking for a fun and fabulous carve a gnome tutorial? We’ve got one for ya!
Gnomes are little creatures that work at night and often help humans with odd jobs around their homesteads. We spotted a 21st century gnome while on a recent ski and snowshoe trip to Aspen, Colorado (he was busily defogging our gondola window on our way up the mountain).
We didn’t want to offend him by taking his picture—but he made a lasting impression—with his jazzy, notched hat and flowing white-speckled beard.
We believe we’ve captured his essence in this carve a gnome tutorial, and hope you enjoy carving him!
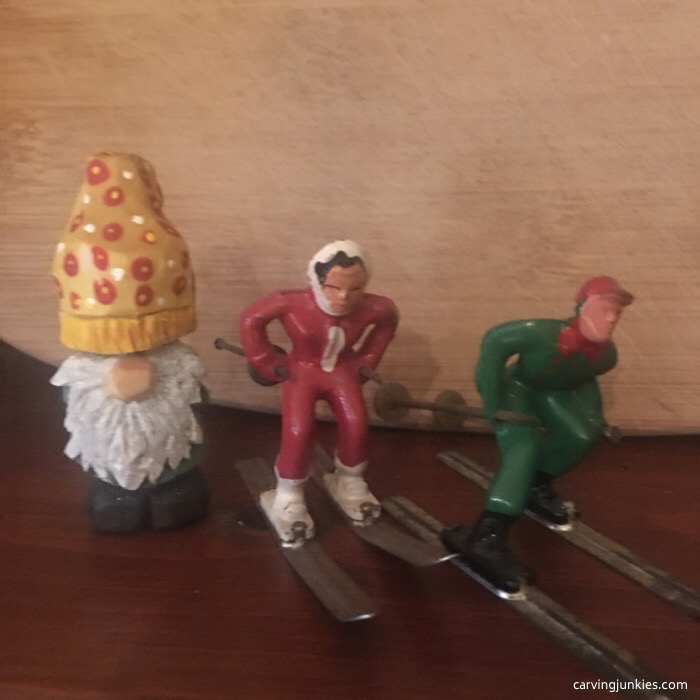 Sometimes he sneaks peeks at the skiers.
What you will need for this carve a gnome tutorial
- A basswood block. Ours is 1 x 1 x 3 inches (2.54 x 2.54 x 7.62 cm) and you can easily double or triple the size.
- Wood carving knife of choice (we use a Helvie Boxcutter that is great for roughing out and detail work).
- 1.5 mm micro V-tool for the beard. If you don’t have a micro tool, you can try a super sharp detail knife.
- Pencil for drawing guidelines.
- Acrylic paints and brushes of choice.
- Boiled linseed oil (optional to dip carving prior to painting).
- Excellent carving gloves for safety.
Carve a gnome tutorial at a glance
Carve a gnome tutorial: Getting started
- Draw a line 1/4 inch (0.64 cm) from the bottom (photo 1) to mark the bottom of the gnome’s coat.
- Draw a second line 1.5 inches (3.8 cm) from the bottom (photo 1) to mark the bottom of the hat.
- Draw an X across the top (photo 1).
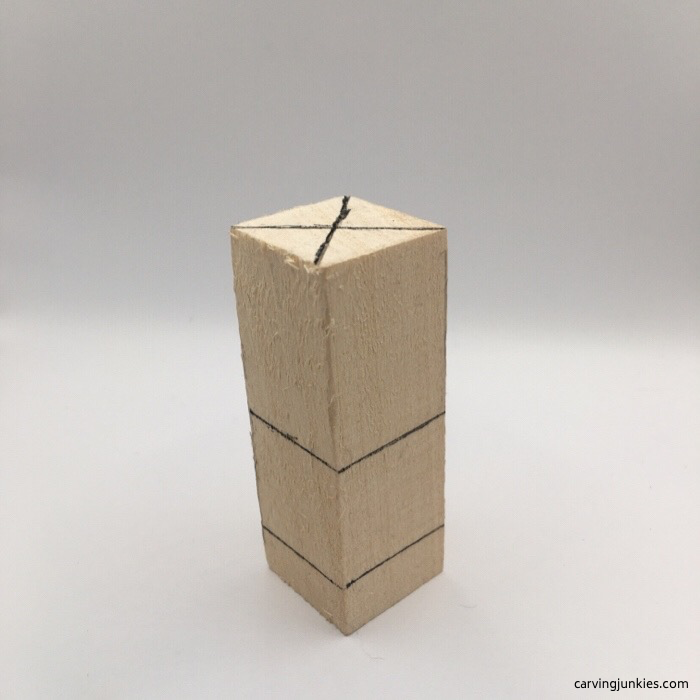 1. Guidelines are drawn
Carve a gnome tutorial: Narrow the top of the block
- Round each corner about a third of the way below the top of the block to start shaping the gnome’s hat (photo 2).
- Using stop cuts, separate the bottom of the hat all around (photos 3,4).
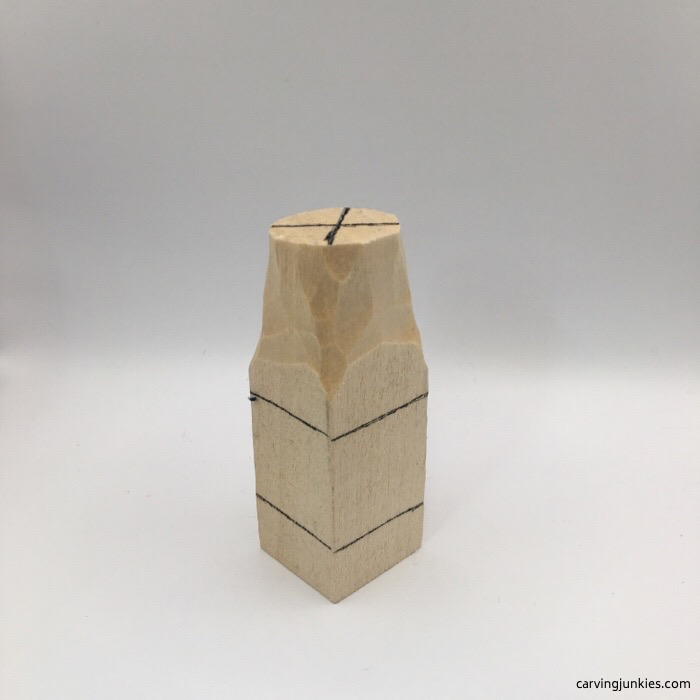 2. Corners are rounded
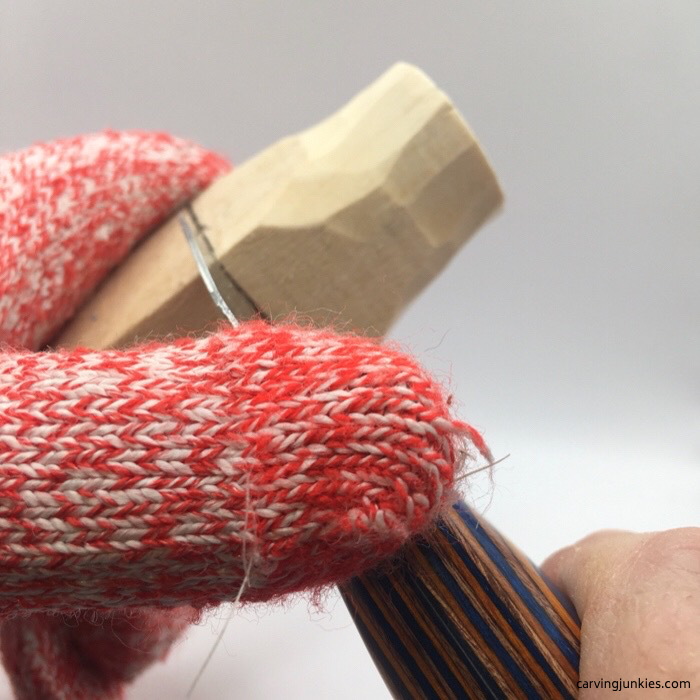 3. Making stop cuts to separate the hat
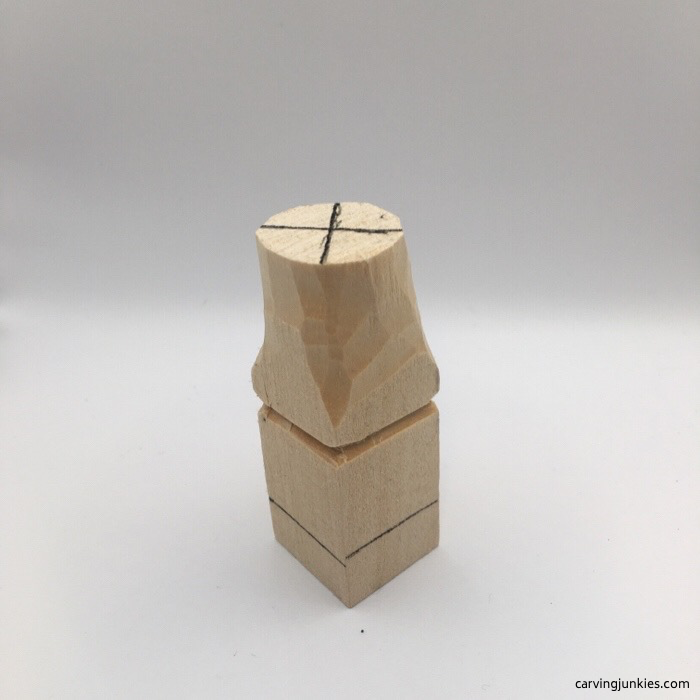 4. Hat is separated all around
Carve a gnome tutorial: Shape the shoes
- Round down the corners below the bottom guideline (photos 5,6).
- Using stop cuts, separate the coat all around (photos 7,8).
- Mark the shoes where you will split them (photos 5-8).
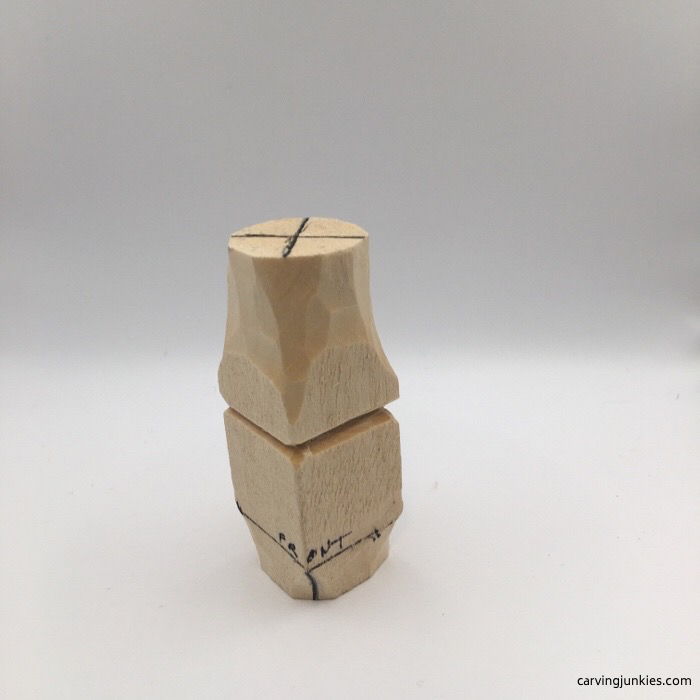 5. Starting the shoes (front)
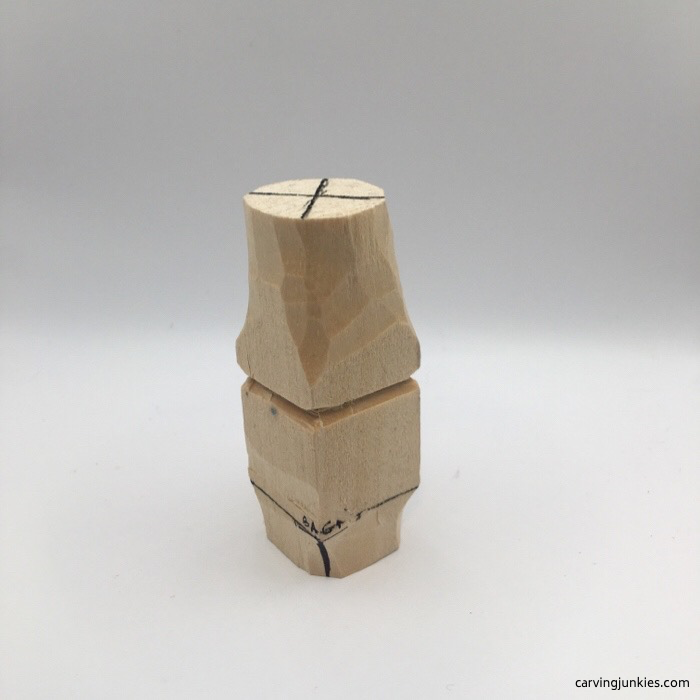 6. Back view
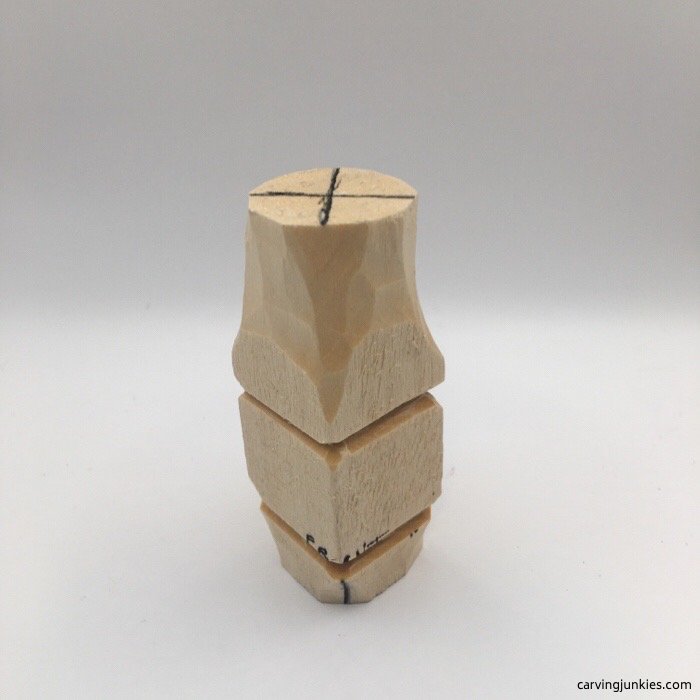 7. Coat is separated (front)
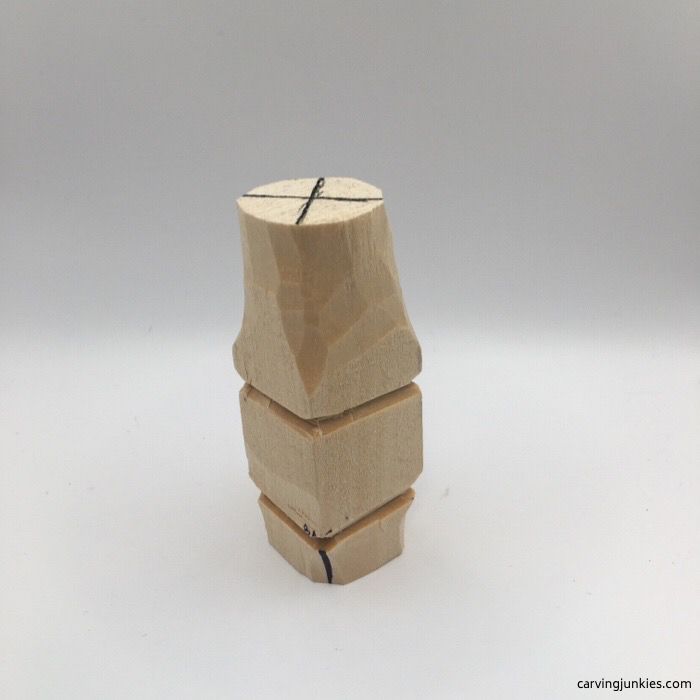 8. Coat is separated (back)
Carve a gnome tutorial: Split the shoes and shape them
- Using a V-cut, split the shoes and shape them (photos 9-12).
- Also use a V-cut to add a notch on each side for the heels of the shoes (photos 10,11).
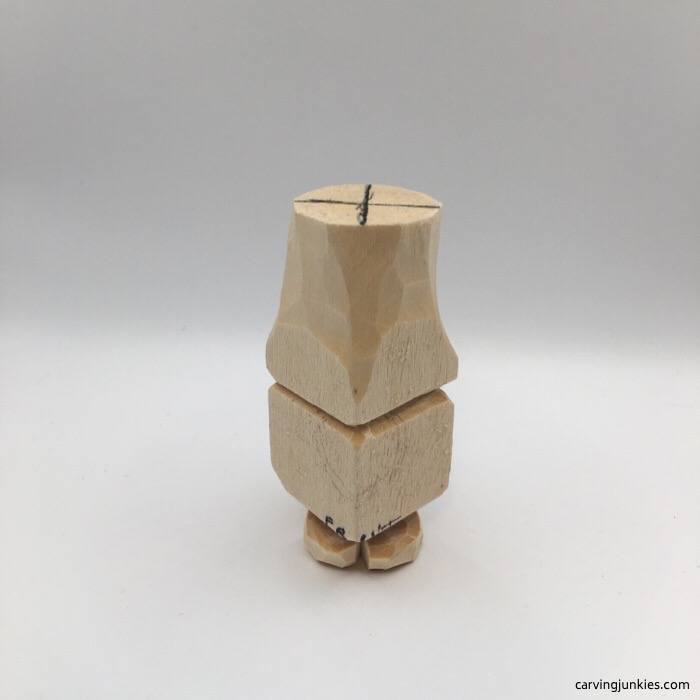 9. Shoes are split and shaped (front)
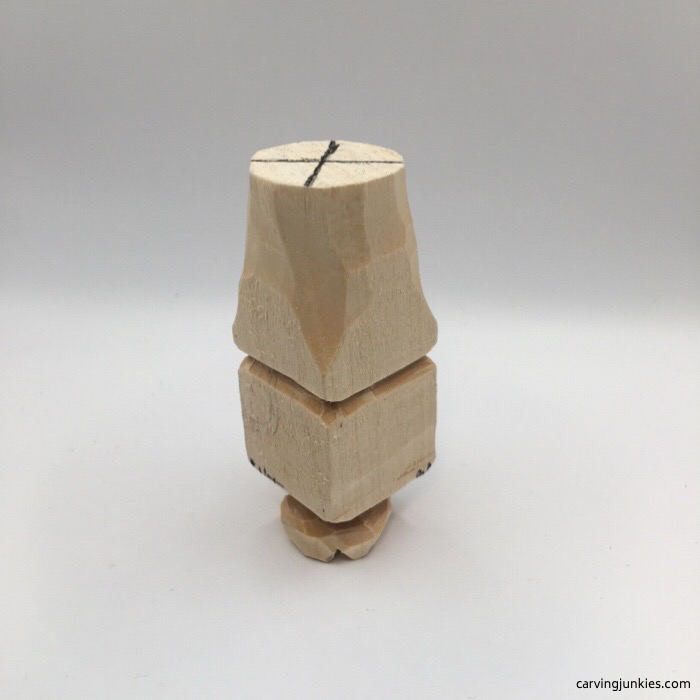 11. Left view
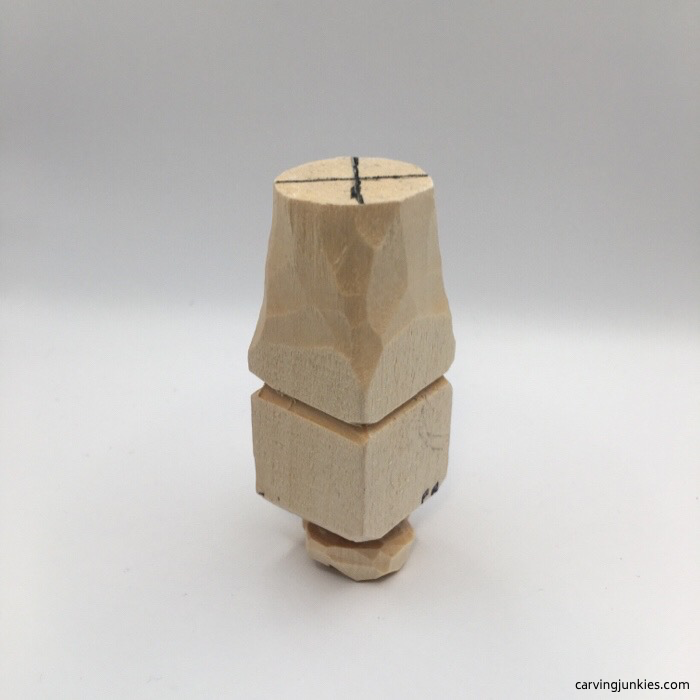 10. Right view
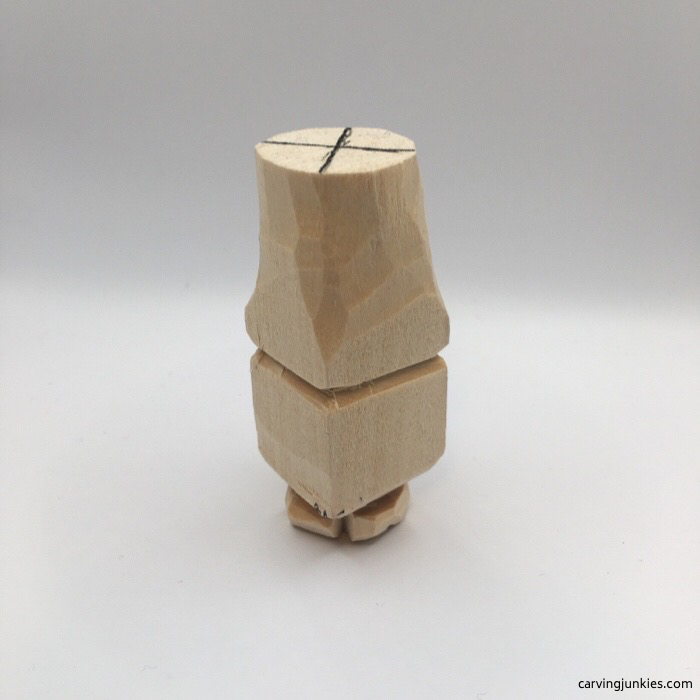 12. Back view
Carve a gnome tutorial: Add details
- Round the sides of the gnome’s body and narrow it under the hat (photos 13,14).
- Draw the nose and the beard (photo 13).
- Draw the hands clasped behind the gnome’s back (photo 14).
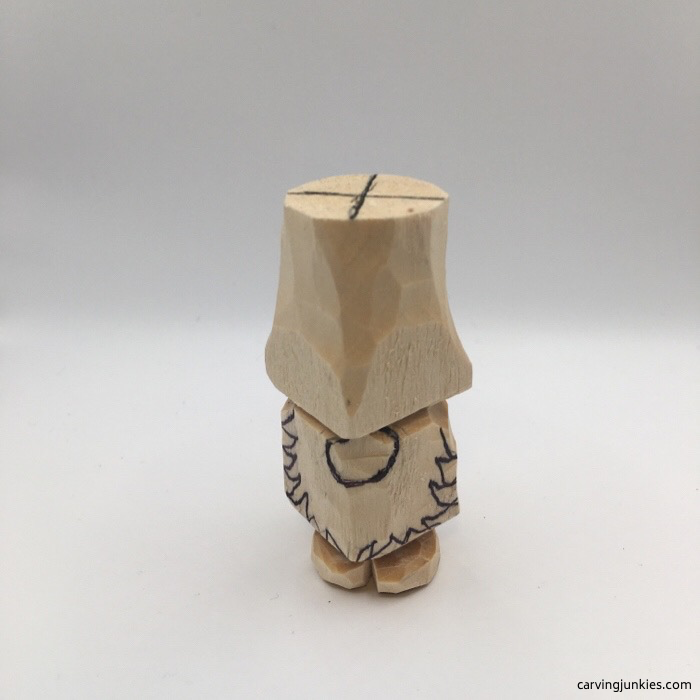 13. Face details are added
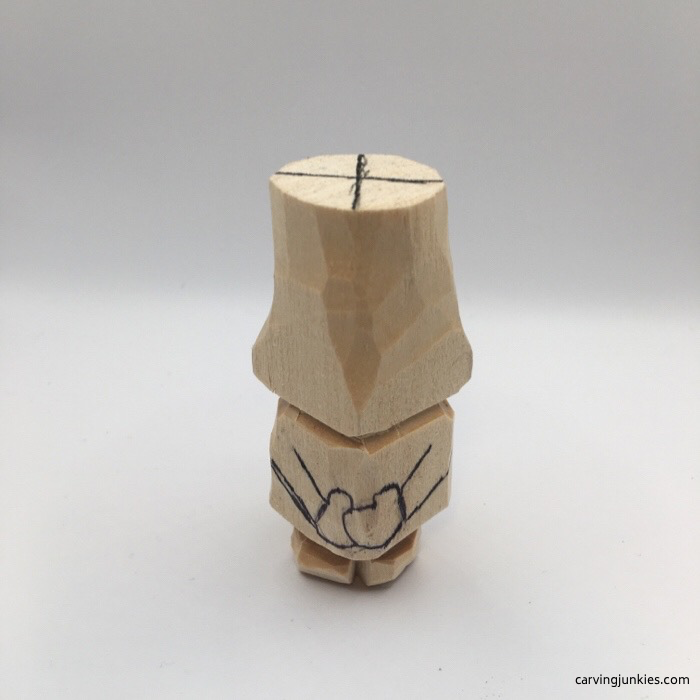 14. Hands are clasped
Carve a gnome tutorial: Shape the hat
- Using your knife, start to angle wood back to the horizontal line on the X to create the hat (photo 15).
- On the back, draw where you will reserve wood for the tassel (photo 16).
- Use a stop cut at an angle on each side of the tassel and carefully remove wood from underneath (photo 17).
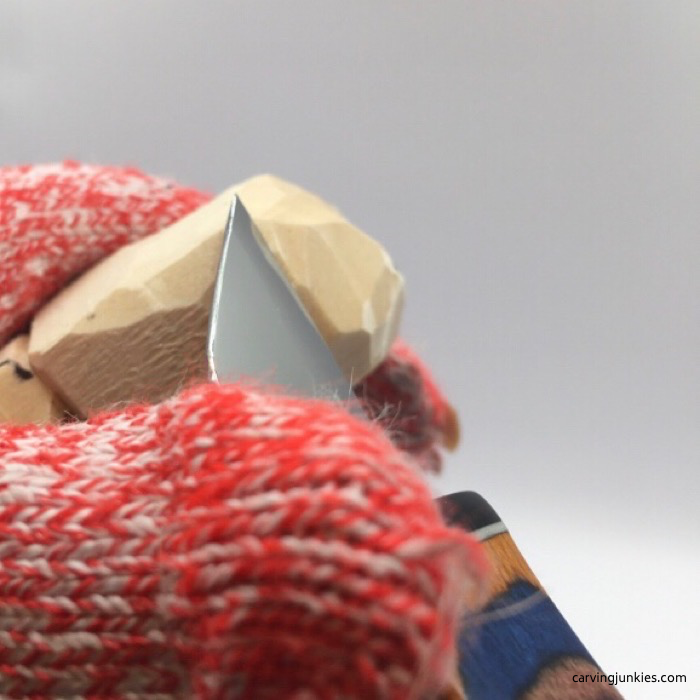 15. Starting to angle the hat back
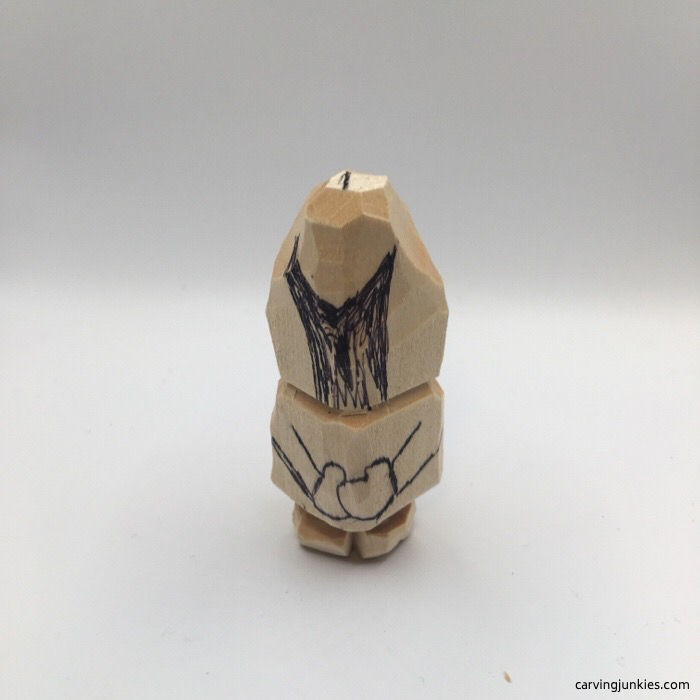 16. Wood is reserved for the tassel
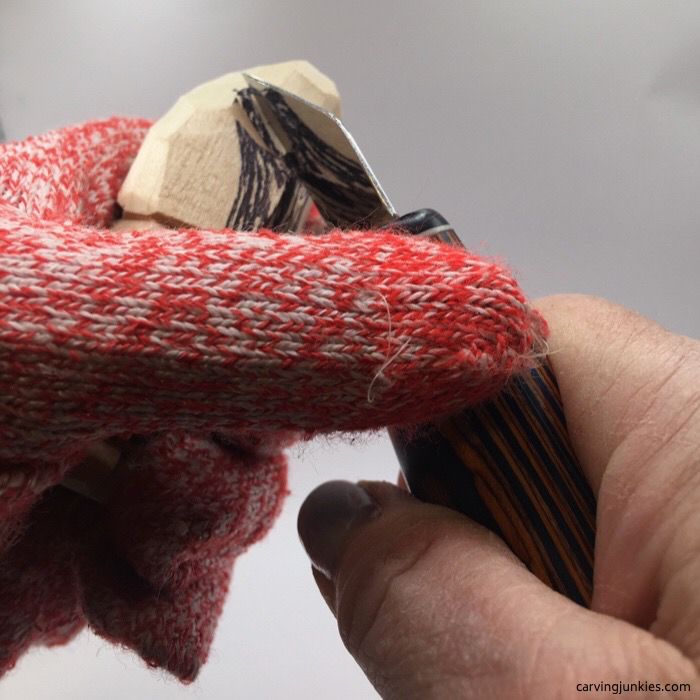 17. Using a stop cut to separate the tassel
Carve a gnome tutorial: Carve more details
- Using your knife, follow the circle guideline for the nose and remove wood from around the circle.
- Tip: Cut the outline of the nose deeply and carefully remove wood around it until you get the depth that you want for the nose (photos 18-21).
- Carefully continue to remove wood from the back to create the tassel (photos 18-21).
- Carve a gnome tip: Keep the tassel width thick to avoid breaking it.
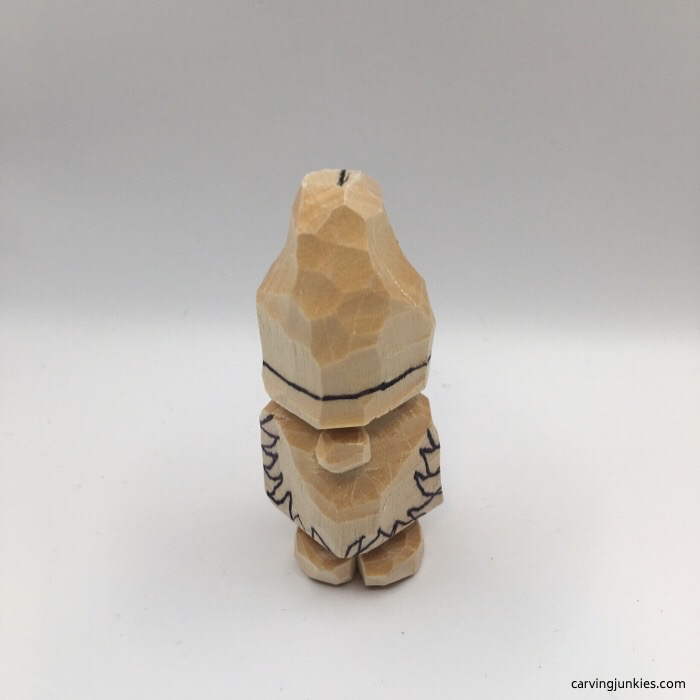 18. Brim of the hat is drawn
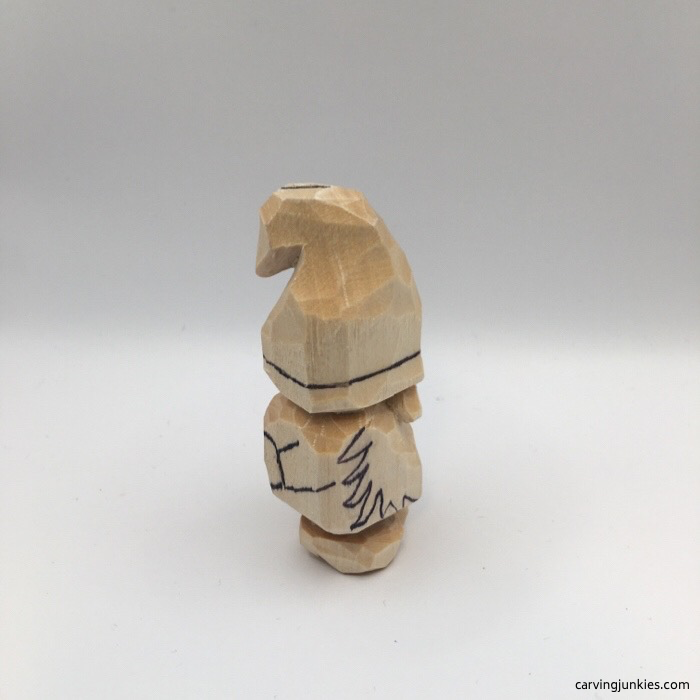 19. Right side view of cut tassel
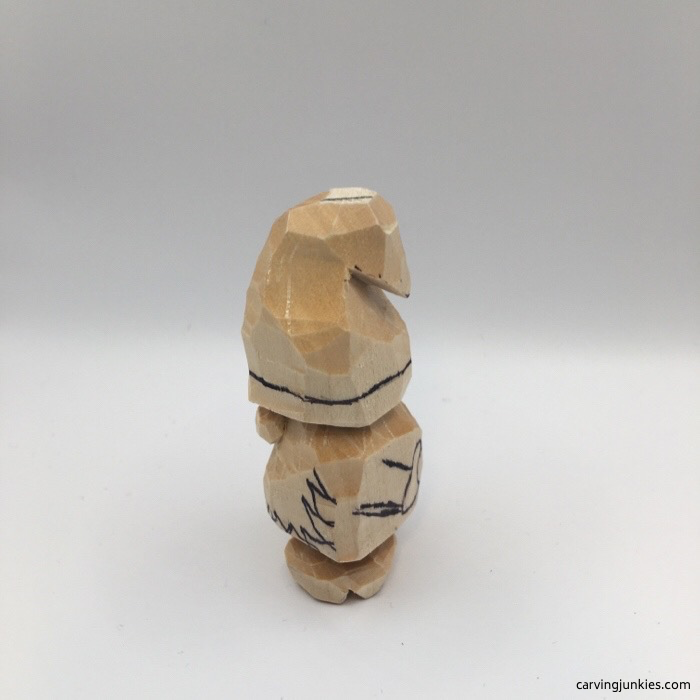 20. Left view
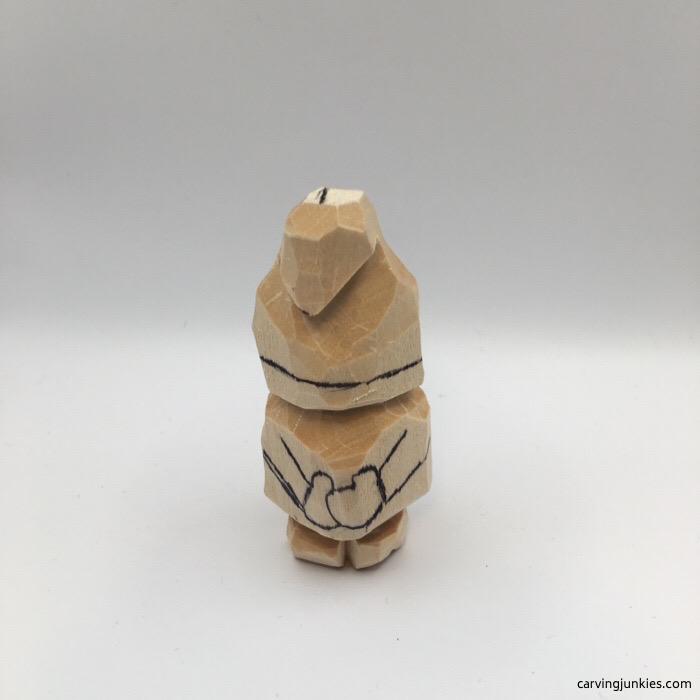 21. Back view
Carve a gnome tutorial: Carve the hat brim and beard
- Using your knife, carefully use little stop cuts to carve the beard and remove wood from around your cuts (photos 22-23).
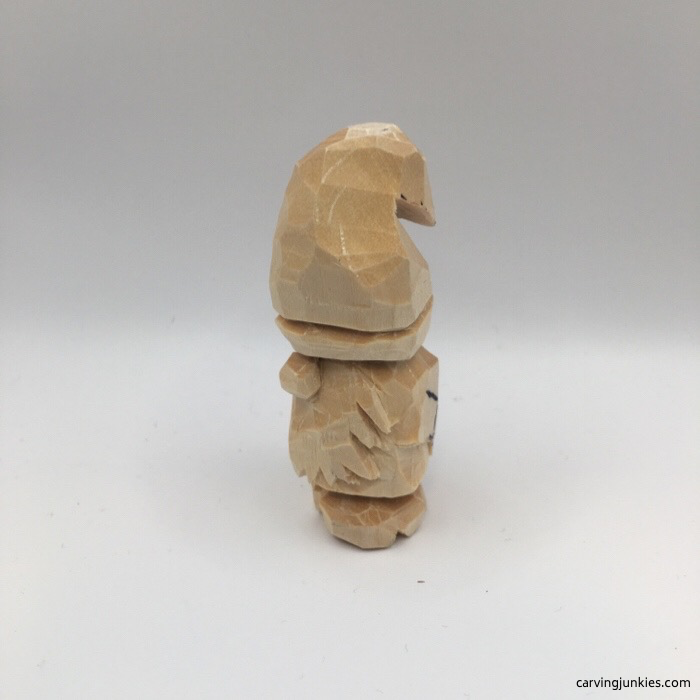 22. Left view of carved beard
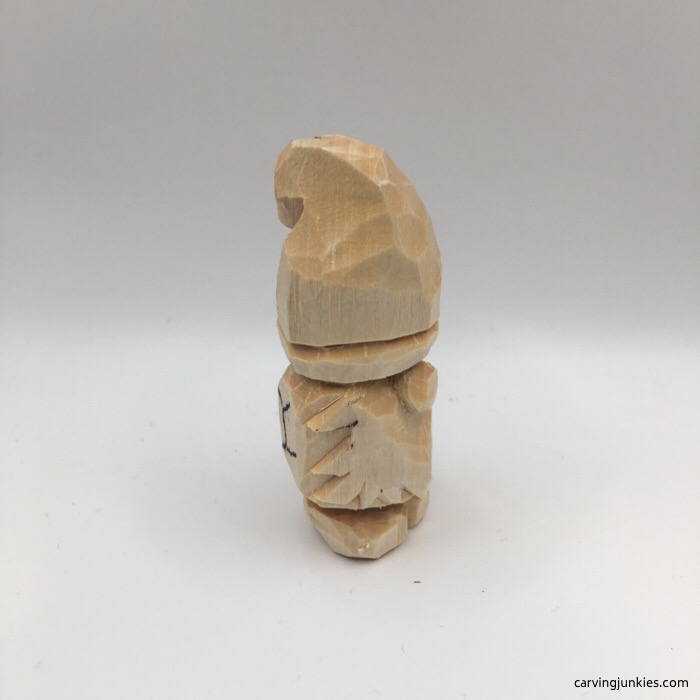 23. Right view of carved beard
Carve a gnome tutorial: Separate the arms
- Make a stop cut under each arm (photo 24) and remove wood from underneath.
- Cut the mittens (photos 28,29).
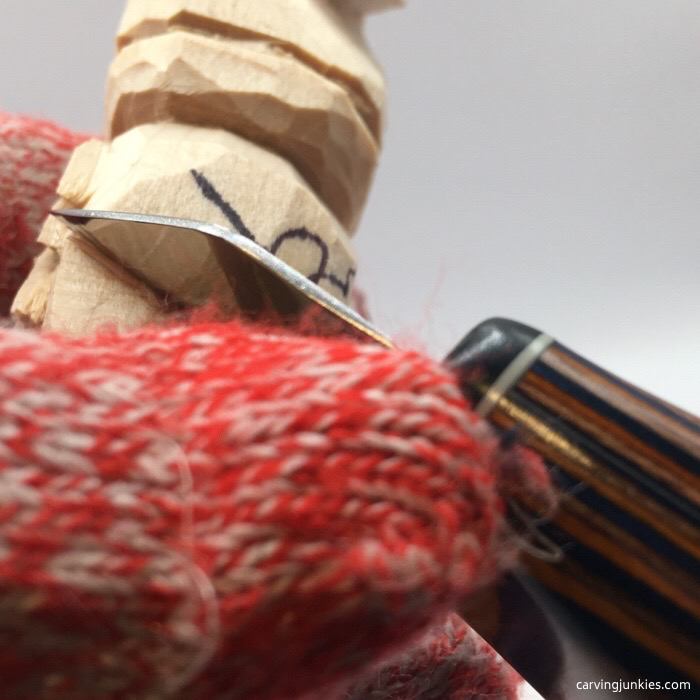 24. Separating the arms
Carve a gnome tutorial: Finish the beard
- Draw curly lines on the beard (photo 25).
- Using a micro V-tool (1.5 mm), carve the lines on the beard (photo 26). We use a micro tool from Dockyard and it’s awesome.
- Also use the micro V-tool to carve lines that create the ribbed brim (photo 25).
- Carve a gnome tip: If you do not have a micro V-tool, try using a very sharp detail knife (go slow and be careful to avoid chipping).
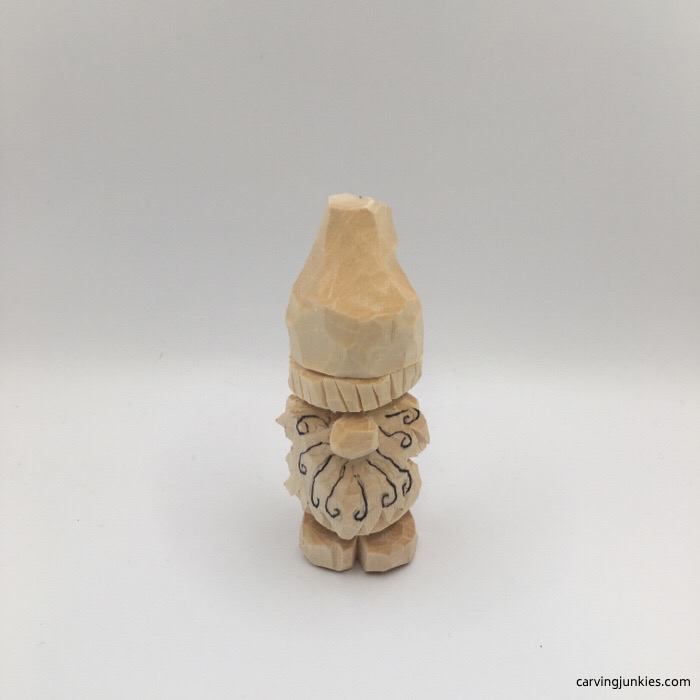 25. Draw on lines to cut
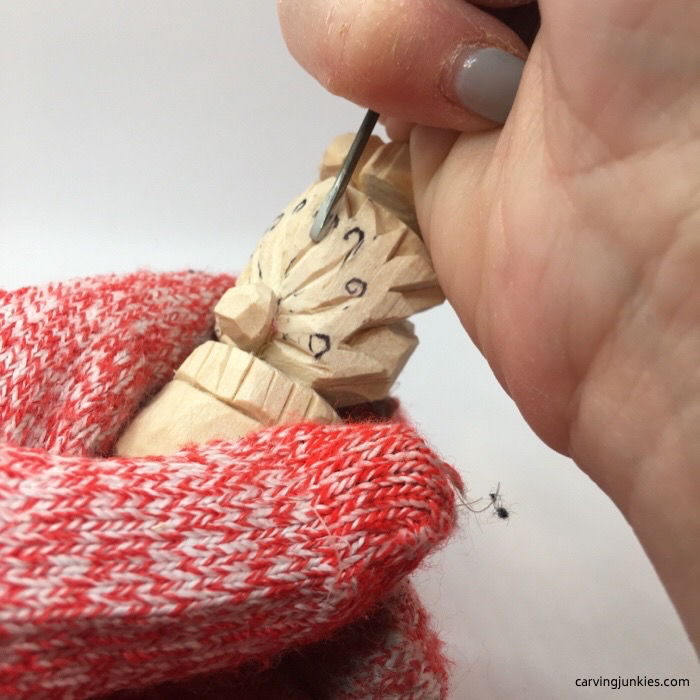 26. Cut the lines
Carve a gnome tutorial: Complete the details
- Refine the mittens on the gnome and shape the back and shoulder blades (photos 28-30).
- Add some wrinkles to the hat and arms and clean up your cuts (photos 27-30).
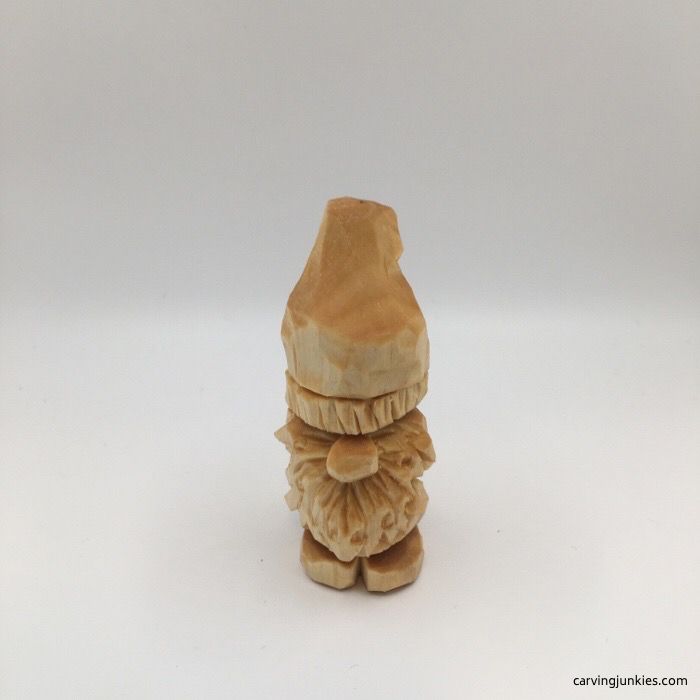 27. Front view of wood carved gnome
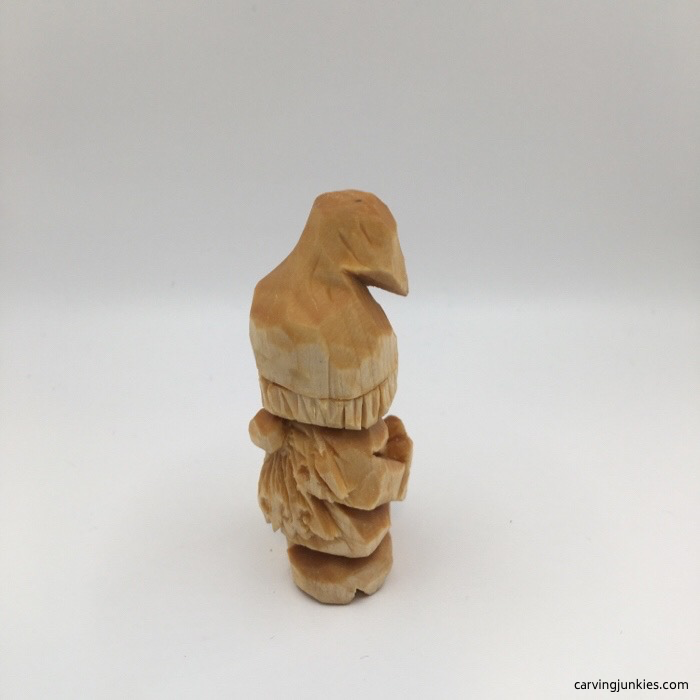 29. Left view of wood carved gnome
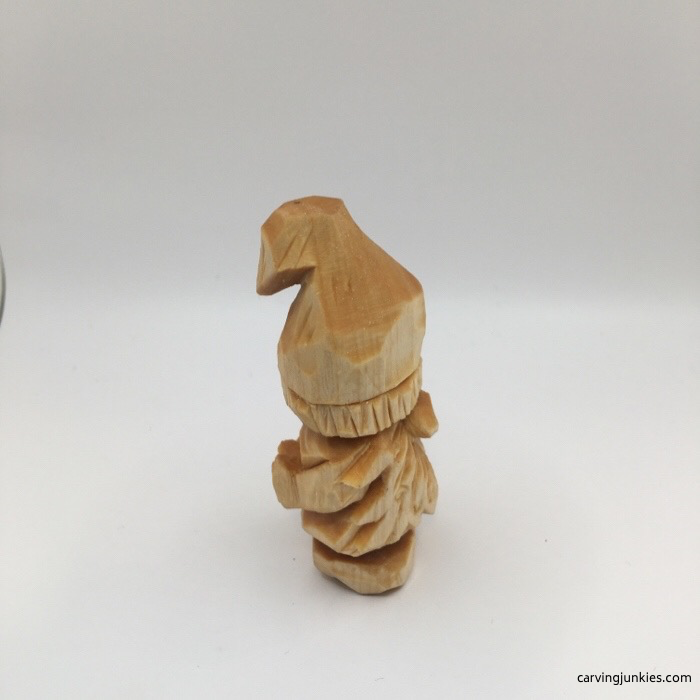 28. Right view of wood carved gnome
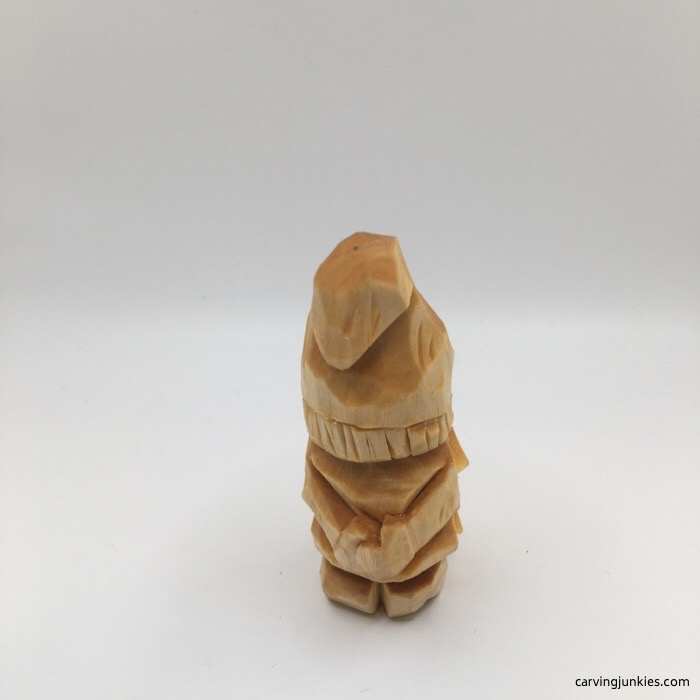 30. Back view of wood carved gnome
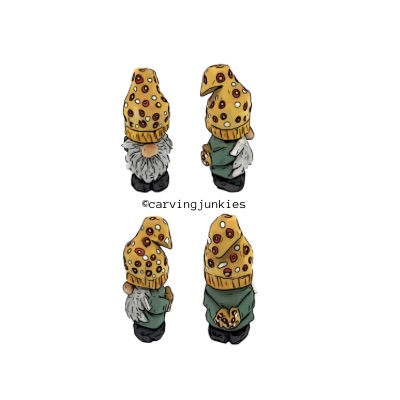
Carve a gnome tutorial: Time to paint
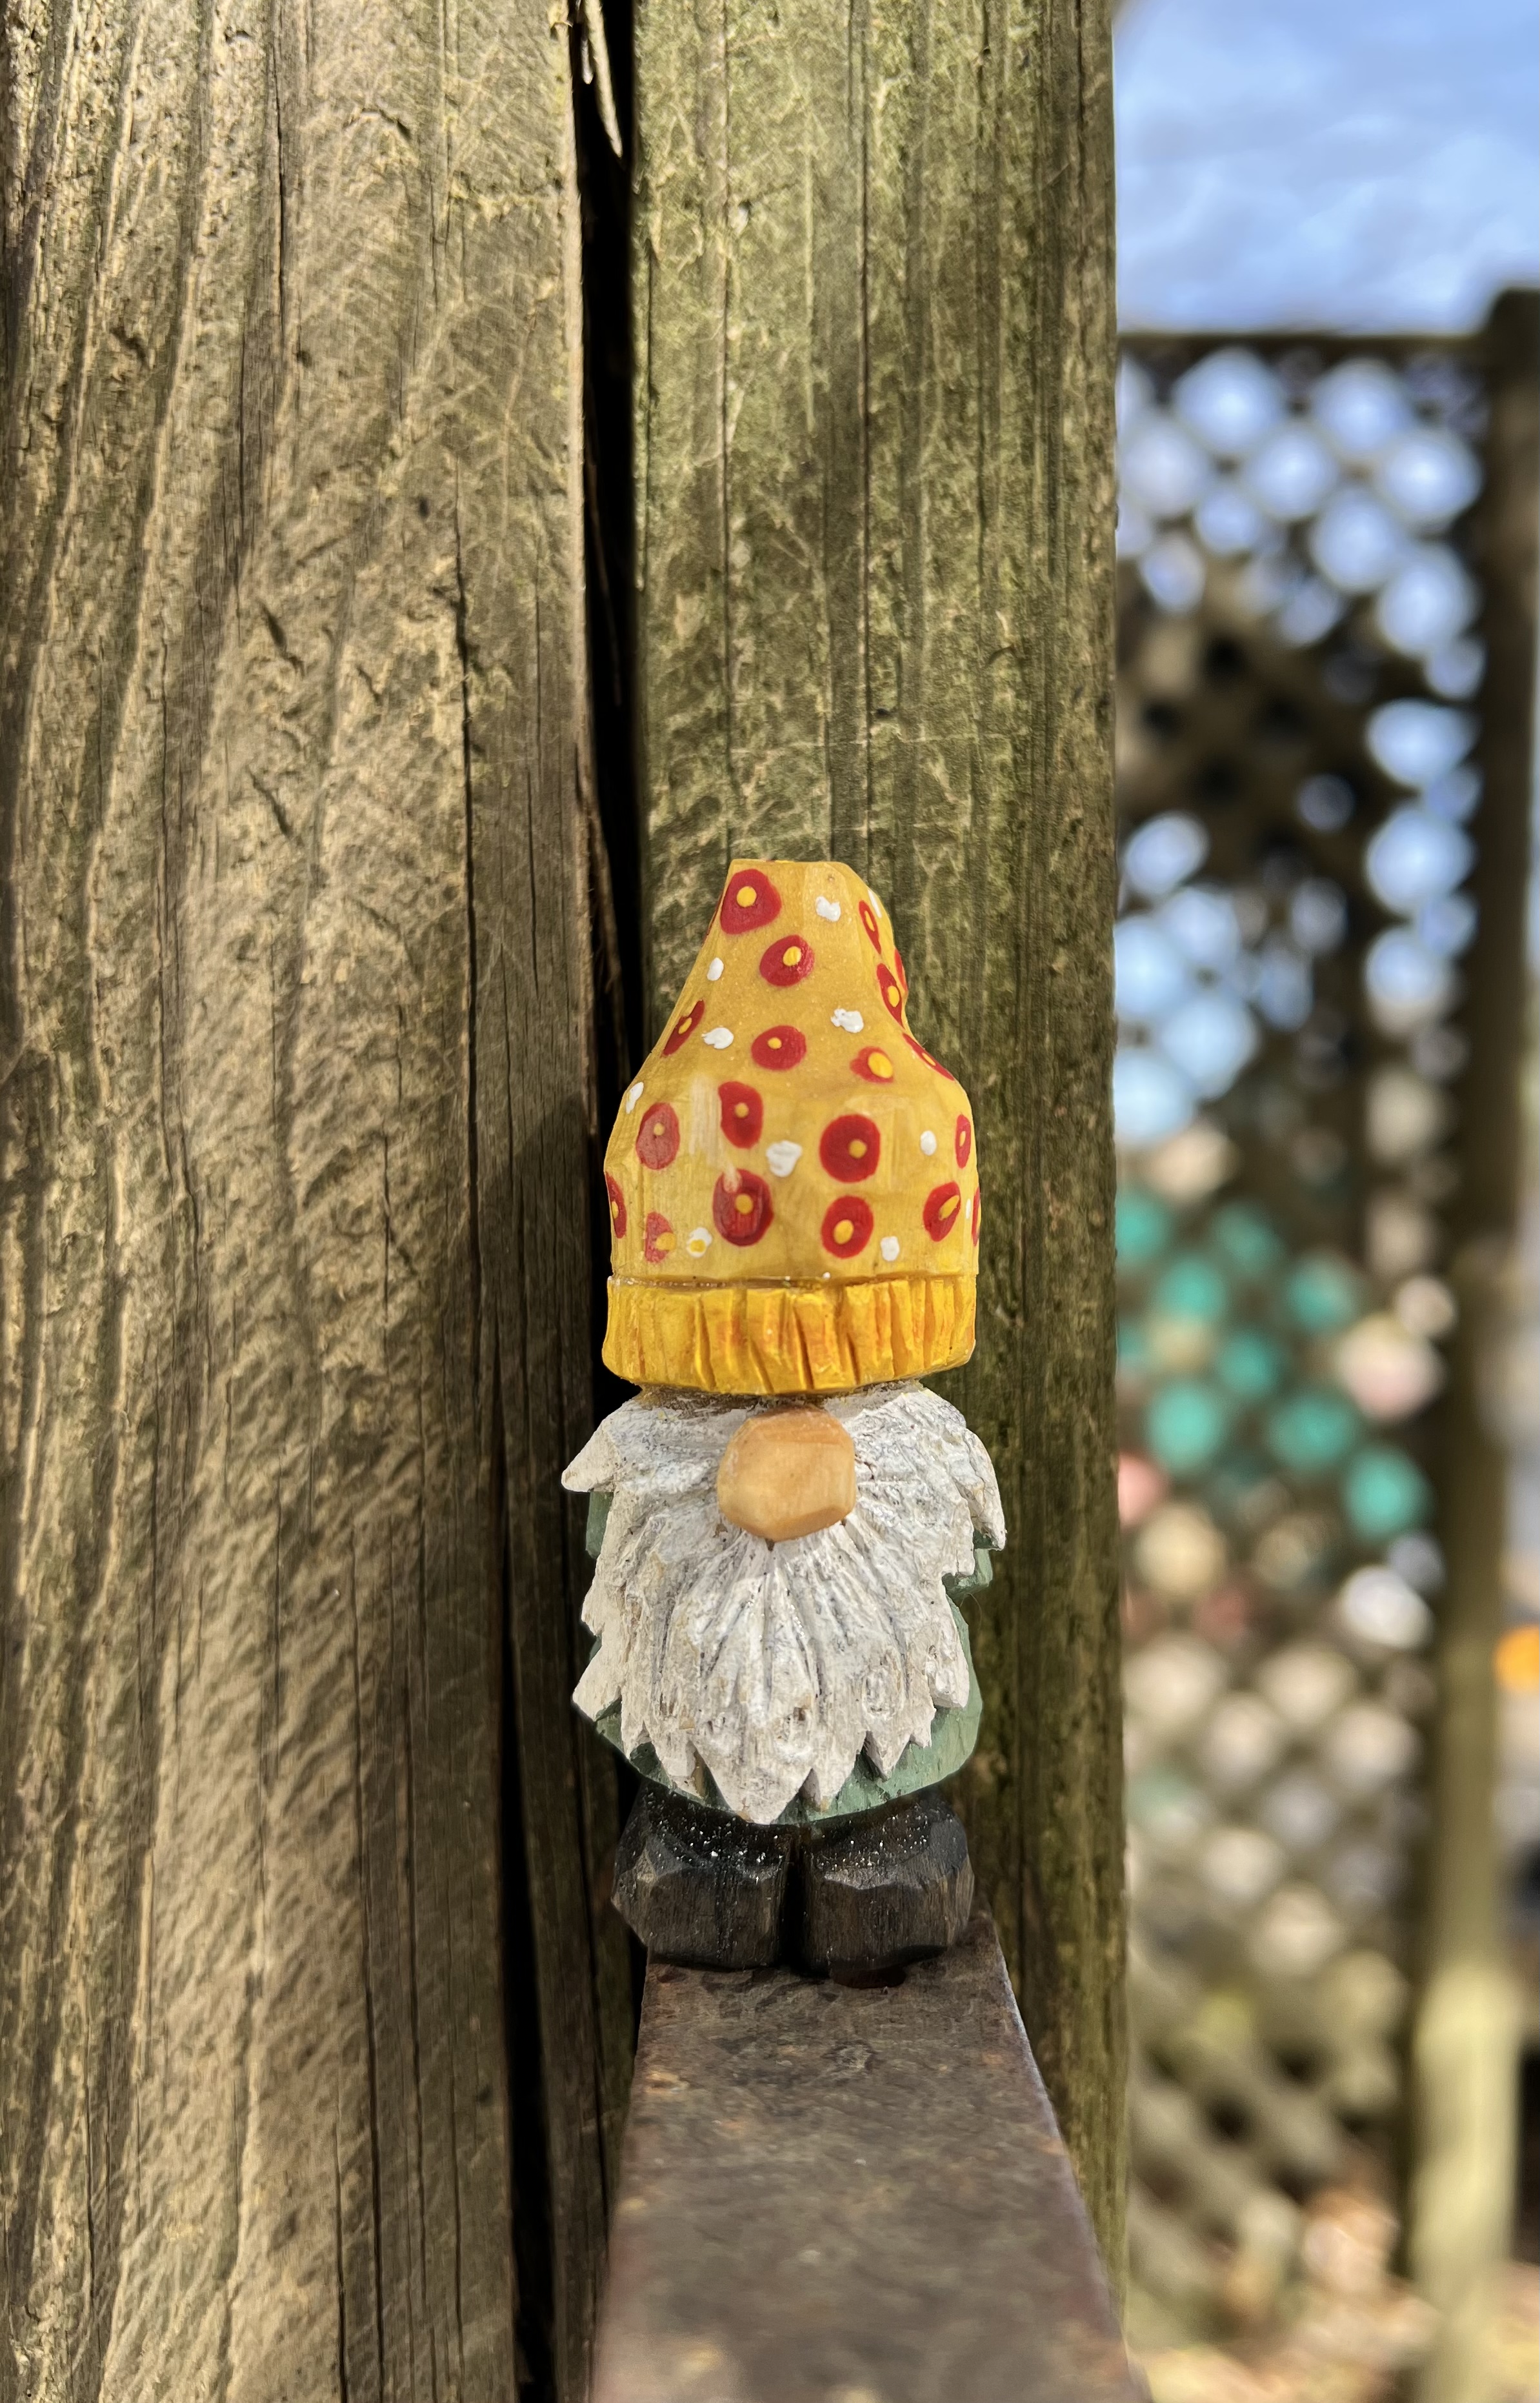
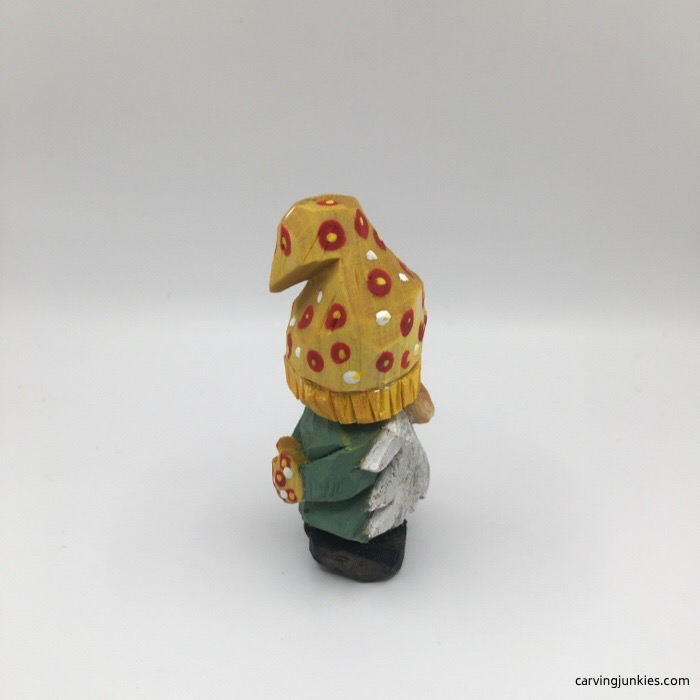
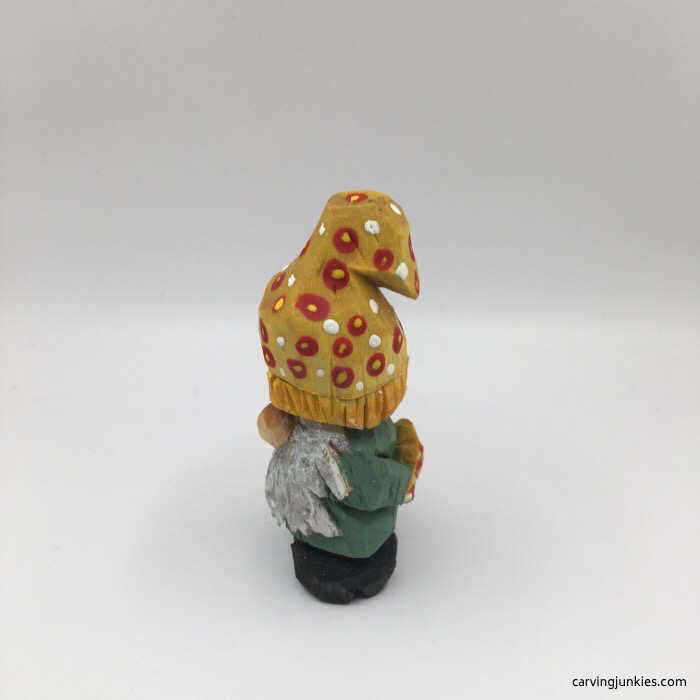
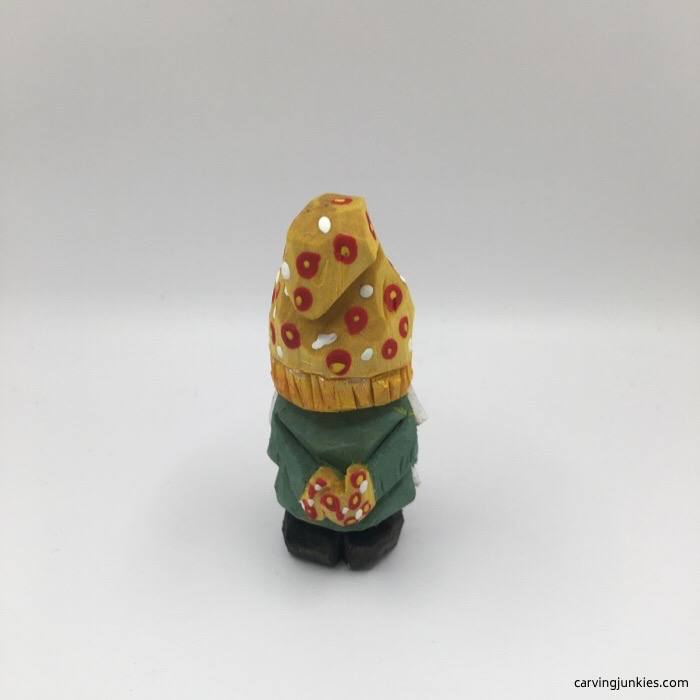
To get the same look as our carve a gnome figure:
- Dip the entire gnome into a glass filled with boiled lindseed oil (Tip: Insert a long screw into a dowel so you can attach the gnome. It will also keep your hands—and your carving—free from paint).
- Beard (first coat): 100% Artists Loft titanium white paint mixed with 1 drop of FolkArt steel gray paint (reserve leftover). Let dry completely and dry brush with Folk Art steel gray paint.
- Coat: Add 2 drops of Liquitex deep green permanent paint to leftover white/gray paint and mix with 10 drops of water.
- Hat and gloves (base): Mix 5 drops of Craft Smart yellow paint with 20 drops of water.
- Shoes: Mix 3 drops of CraftSmart black paint with 1 drop of FolkArt steel gray paint and 20 drops of water.
- Hat and glove polka dots: Use a round-bottom toothpick to apply 100% Craft Smart red paint and the pointed end to apply 100% Artists Loft titanium white paint. Let dry completely and add 100% Craft Smart yellow paint to the center of the red dots.
- Hat brim: dry brush Craft Smart red paint and blend with wet brush.
Carve a gnome pattern
Photocopy this pattern to size to fit your wood block if you prefer carving with a pattern.
Carve a gnome tutorial summary
- Gnomes are adorable little creatures that are fun to carve.
- This carve a gnome tutorial is great for those who want to avoid carving eyes.
- While the gnome is very simple, you can create more interest with a polka dot design in paint.
- You can carve a gnome with just a knife, but we recommend adding a 1.5 mm micro V-tool for fine details on the beard and hat rim.
Get 50 Wood Carving & Painting Tips when you join our FREE Covered in Chips club.
Share this page
carvingjunkies.com never sells your personal information.
This site uses cookies for its operation and to enhance your experience. As an Amazon Associate and Focuser Carving affiliate we earn from qualifying purchases.
Home | About Us | Privacy Policy | Terms of Use | Contact | Sitemap
