- Home
- Things to carve
- Carving an owl
Carving an owl step-by-step
Carve yourself a beautiful barn owl.
LEVEL: SOME CHALLENGES
Thinking about carving an owl? This step-by-step tutorial will show you how to create a beautiful owl from a block of wood with just a knife or two.
Whether you're a beginner looking to start a new project, or an experienced carver aiming to refine your skills, this tutorial will help you carve a stunning, little owl.
Let's get started on this exciting wood carving project together!
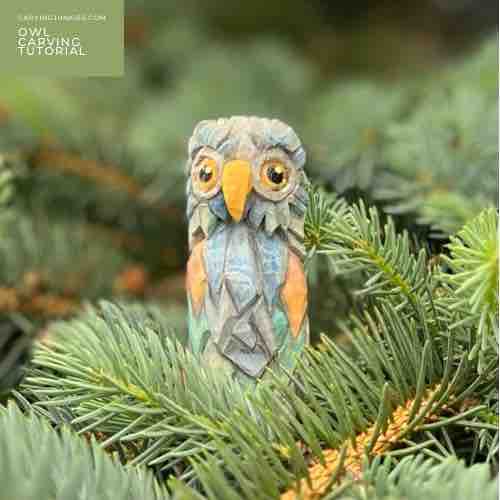
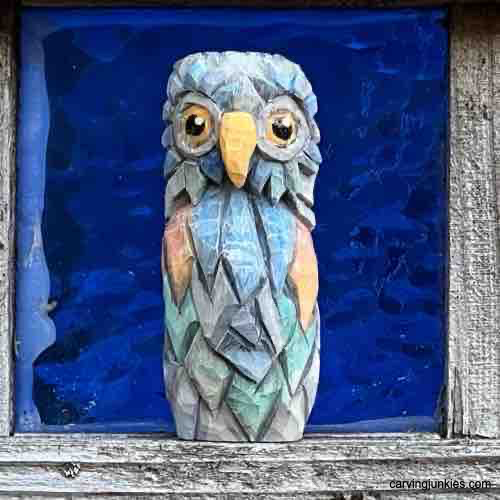 Blue background brings out rich colors
What you will need for this carving an owl tutorial
- I used a 1 x 1 x 3 inch (2.5 x 2.5 x 7.6 cm) block of basswood. You can always go bigger and double or triple the tutorial measurements.
- You can probably just use a single carving knife to carve your owl, but I switched from a roughout carving knife to a smaller detail knife for separating the feathers.
- Keep a ruler and a pen, pencil, or magic marker available to sketch the guidelines.
- I'm a broken record on this important point: Always use a safety glove while carving.
- If you like to carve over your lap, please protect your thighs (and precious blood arteries) against slips.
- As always, I include a painting guide to help you get a similar look.
Carving an owl tutorial at-a-glance
Here’s a quick video that highlights the key steps in one easy-to-follow video. You may want to watch it before you start carving an owl.
Carving an owl: Setup
Draw a guideline that is 1.25 inches (3.2 cm) from the top of your wood block (photo 1). Slightly round off the corners with your knife (completed in photo 2).
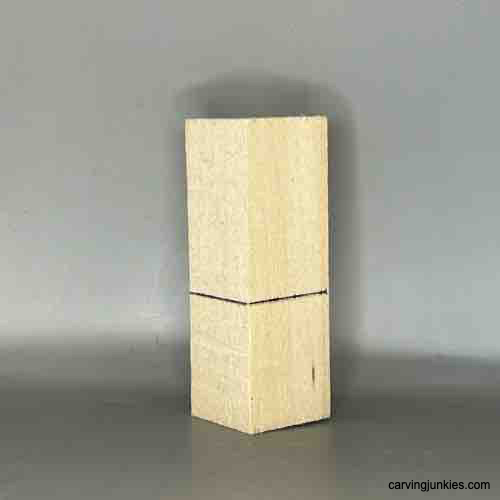 1. Guideline is drawn
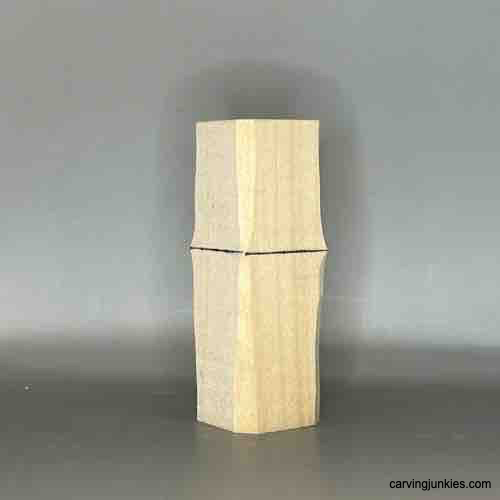 2. Corners are rounded
Carving an owl: Next steps
Carve the top of the head back on your owl wood carving (photo 3). Tip: leave enough wood on the front for the beak.
Sketch the beak on each side (photo 4), which is about 1/2 inch (1.3 cm) at its widest point. Add a triangle on each side, marking the wood to remove.
Use a stop cut on the guideline below the beak(photo 5). Remove wood from above and under your stop cut (photo 6). Or you could make a wide V-cut.
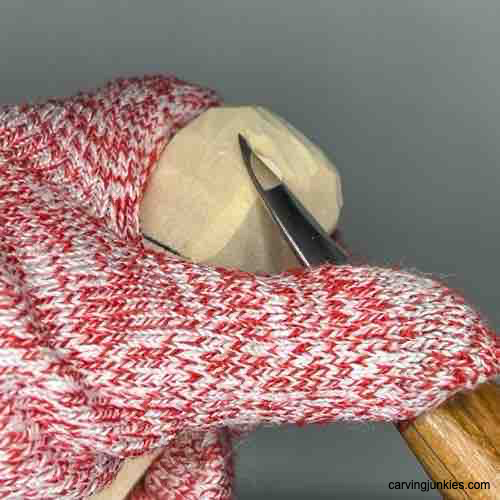 3. Rounding the head
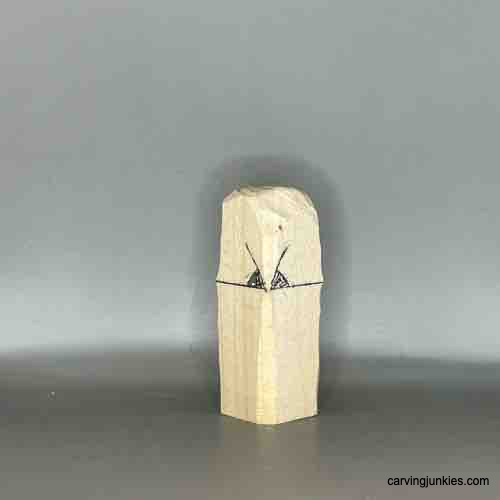 4. Beak is sketched
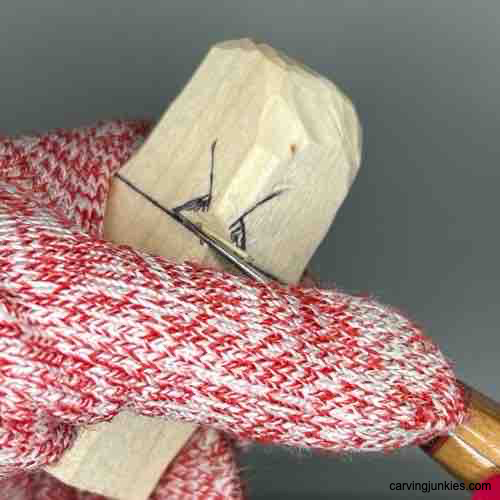 5. Making a stop cut
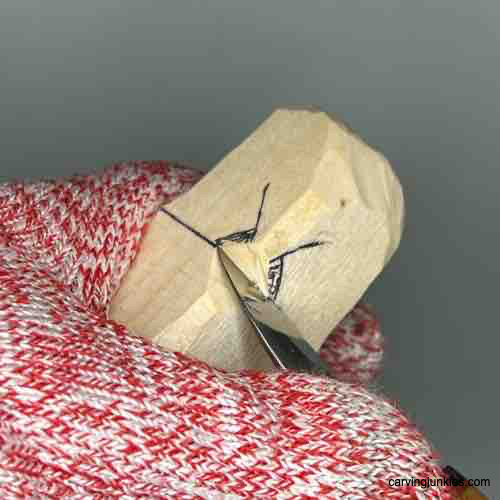 6. Undercutting stop cut
Carving an owl: Add details
Sketch the eyes on the front (photo 7).
Sketch the tail feather on the back (photo 8).
Use a pyramid cut to separate the beak, removing the triangles on each side (photos 9, 10). You will refine the beak later.
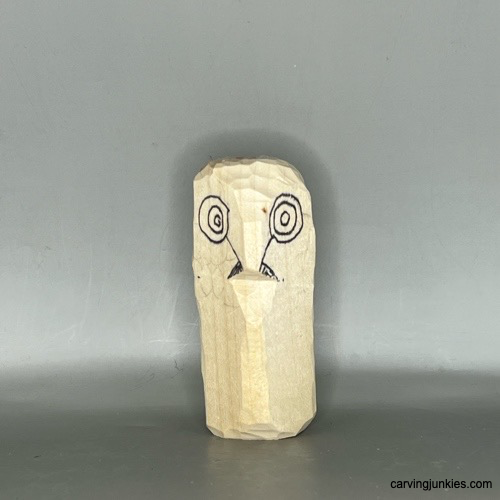 7. Eyes are sketched
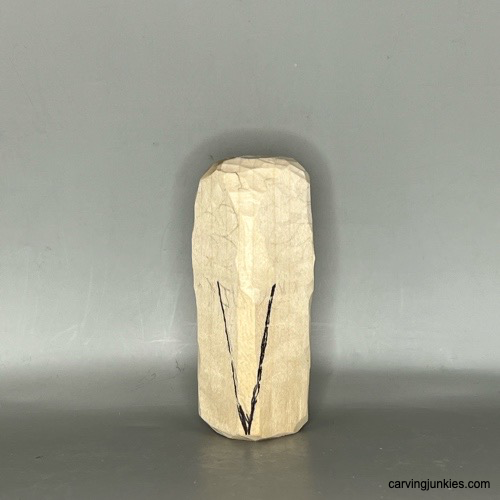 8. Tail feather is sketched
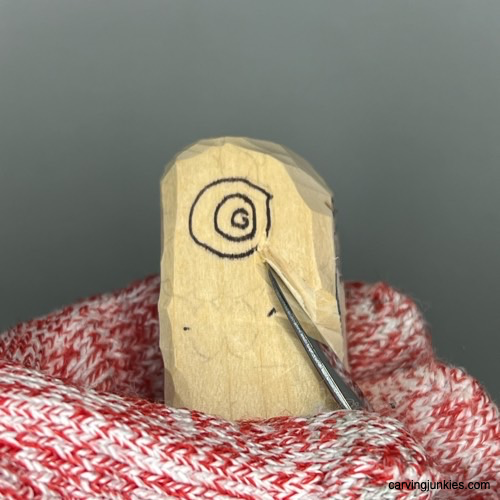 9. Making first cut
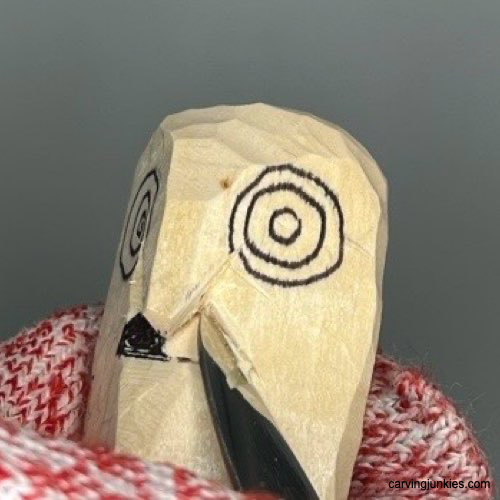 10. Removing triangles
Carving an owl: More steps
Round the corners a bit more (you can remove the guideline now that the beak is established).
Remove wood under the breast of the owl (photo 11).
Separate the bottom of the back tail feather (photo 12). You can use a paring cut, or hold the knife like a pencil to make your first cut. Then, make a second slicing cut. You will have to dig a bit to remove wood under the tail feather if you want it to stand out (visible in photos 15,16). Be careful here not to crack the wood.
Shape the beak (completed in photos 15,16). You will have to dig a bit (and curve your wrist as you carve) under the beak to craft the shape. Take your time here and be careful not to break your knife tip. If you carve the beak off, grab some wood glue. Wait 24 hours before carving again.
Sketch the first feathers around the eyes (photo 13). These feathers will be thinner than the bottom feathers.
Sketch the bottom feathers on the front (photo 14). Aim to have some feathers overlapping other feathers. Vary the size and shape for added interest (photos 13,14).
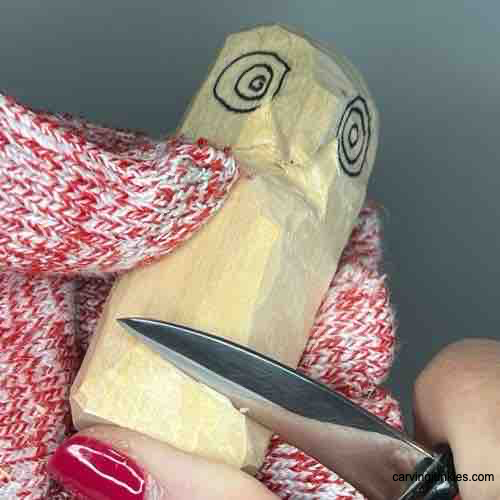 11. Shaping the owl breast
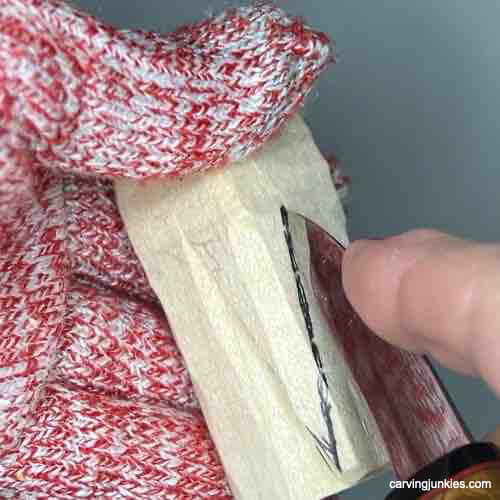 12. Separating the tail
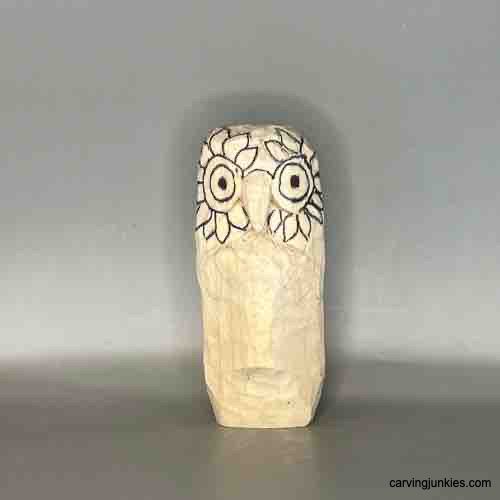 13. Top feathers are sketched
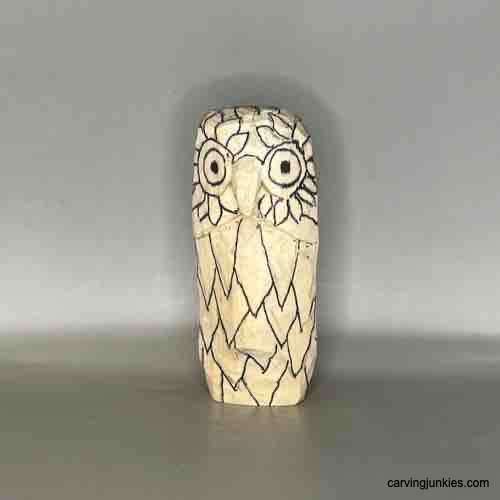 14. Bottom feathers are sketched
Sketch more details
Continue to sketch the feathers all around your owl wood carving (photos 15-17), including the tail feather (photo 17).
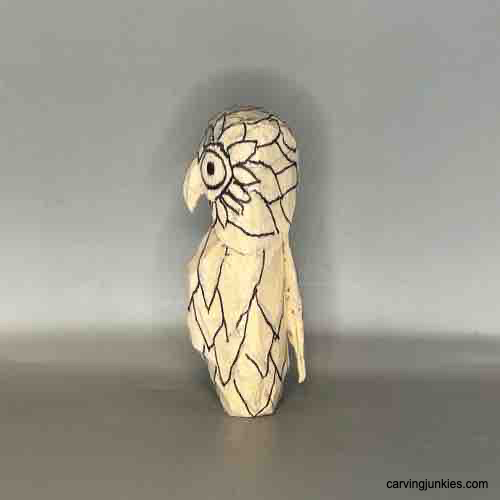 15. Left side feathers
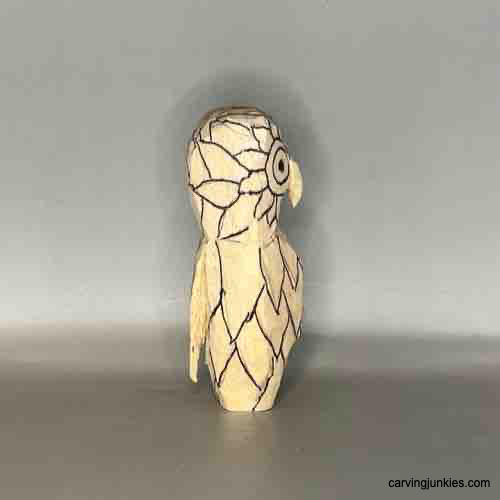 16. Right side feathers
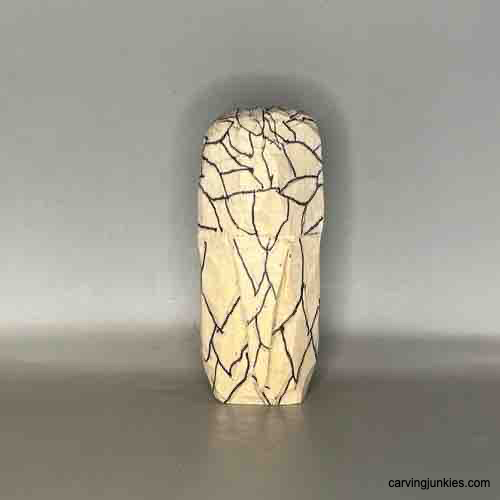 17. Back feathers
Carve the details
Use V-cuts to separate the feathers on the body. Tip: I switched to a smaller detail knife here.
You can also remove wood between the beak and the eyes (completed in photo 18). I used a pyramid cut here.
Separate the eyes all around. I held my knife like a pencil to make my first cut (photo 19) and made a second slicing cut.
Now, separate the top feathers all around (photo 20). I started by making a pyramid cut between the top of two feathers.
Work your way around (photo 21) in the same fashion to separate all the feathers.
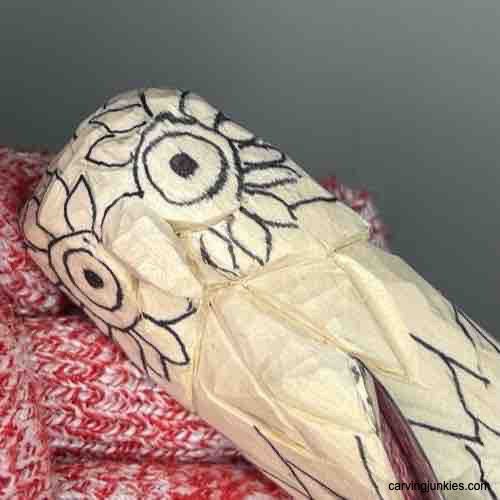 18. Separating feathers
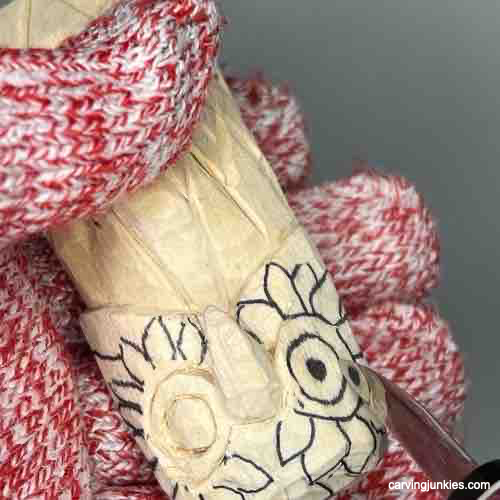 19. Separating the eyes
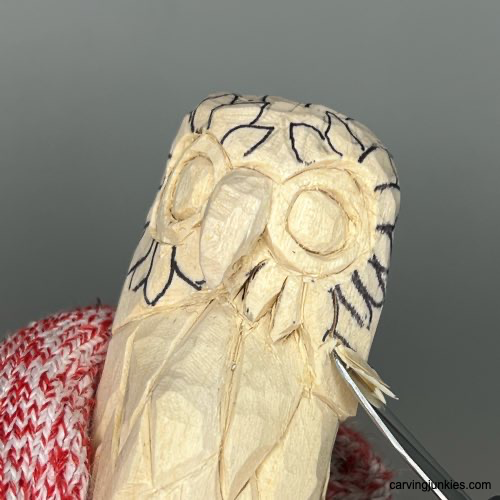 20. Separating top feathers
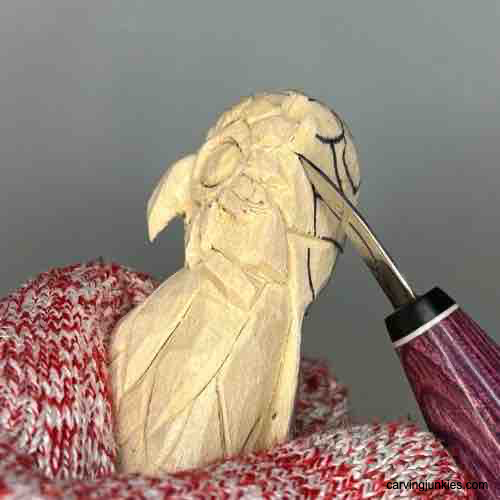 21. Separating back feathers
Carving an owl: Refine your cuts
Clean up your cuts and remove any wood fuzzies prior to painting. Your owl should look similar to photos 22-25.
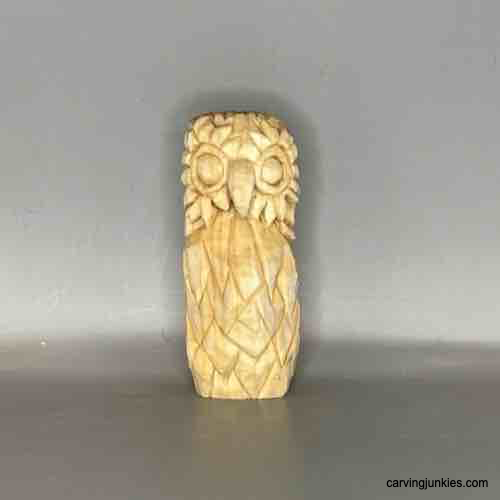 22. Front view of owl carving
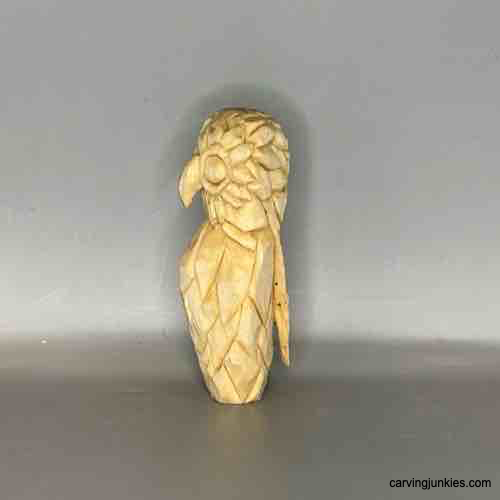 23. Left view of owl carving
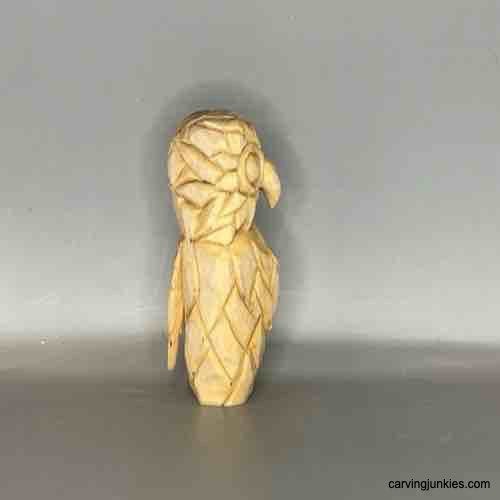 24. Right view of owl carving
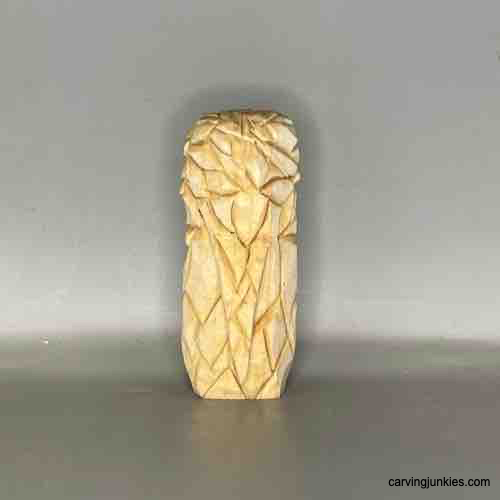 25. Back view of owl carving
Carving an owl: Painting
Check out this article on painting a wood carving if you want some background and tips.
Here are the acrylic paints I used if you want the same look. You could also use wood stain for a more natural look.
- Under beak: FolkArt steel gray wash.
- Feathers: washes with CraftSmart green teal, mix of Americana antique gold/Apple Barrel flamenco red, Ceramcoat turquoise, Apple Barrel blueberry frost, and FolkArt true blue. Mix up the colors and layer them to create visual interest.
- Beak and pupil rim: Americana antique gold.
- Cut lines: Ceramcoat black wash.
- Pupils: Black magic marker and 100% CraftSmart ivory applied with round end of a toothpick. Allow to completely dry and use clear nail polish for an eye-like shine.
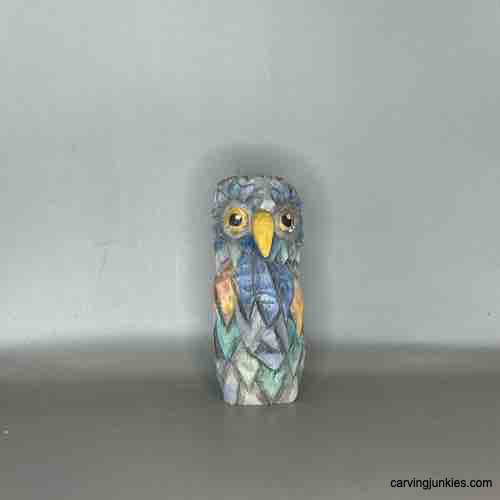 26. Front of painted owl
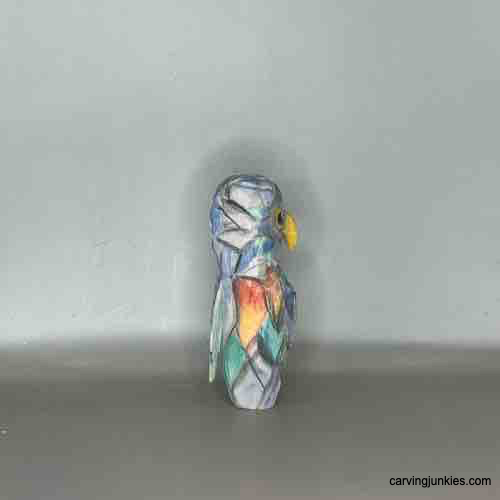 27. Right view of owl
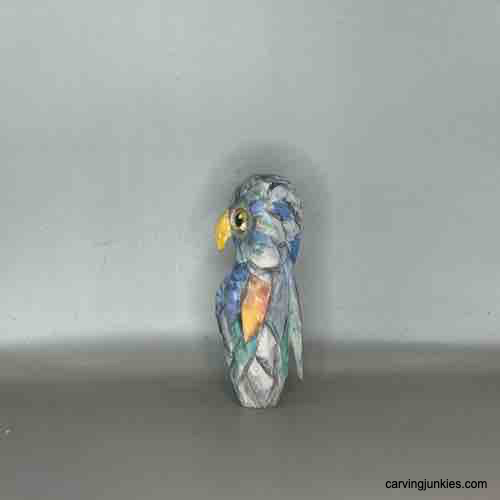 28. Left view of owl
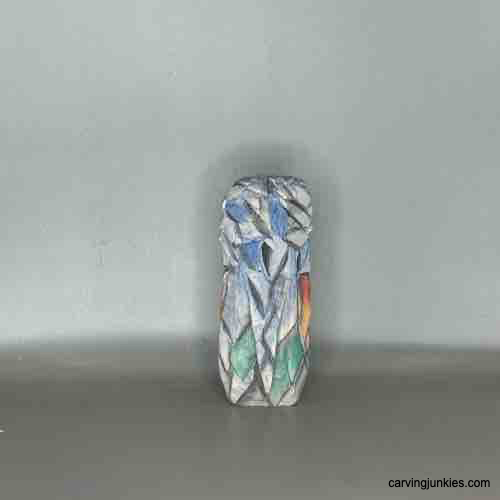 29. Back of owl
Carving an owl pattern
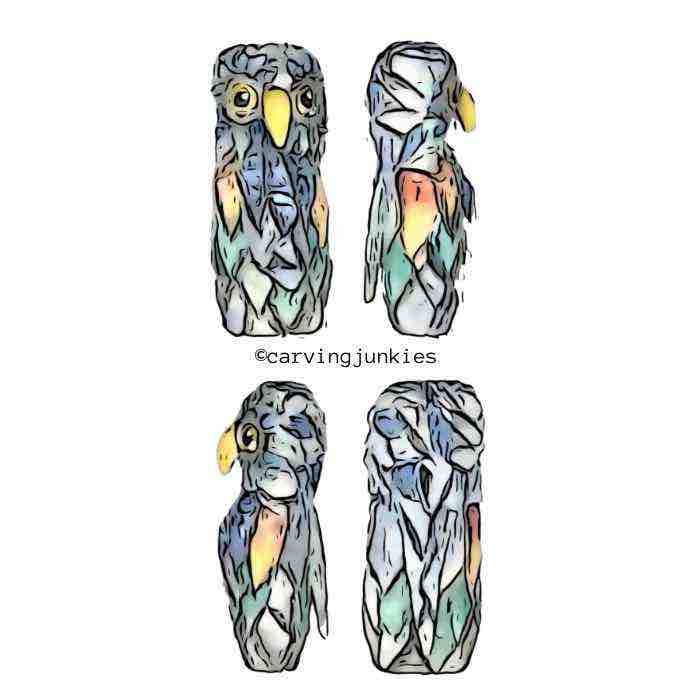
If you prefer to use a bandsaw to roughout a larger owl, photocopy this pattern to size to fit your wood block. You can also use the pattern as a painting guide.
Carving an owl tutorial summary
- This whimsical barn owl can be painted with bright colors, or you could use a wood stain for a more natural look.
- The beak and feathers add a small challenge and are fun to carve.
- Take your time on the beak and tail feather to avoid cracking the wood.
- Make a mistake? Wood glue is always your friend!
Get 50 Wood Carving & Painting Tips when you join our FREE Covered in Chips club.
Share this page
carvingjunkies.com never sells your personal information.
This site uses cookies for its operation and to enhance your experience. As an Amazon Associate and Focuser Carving affiliate we earn from qualifying purchases.
Home | About Us | Privacy Policy | Terms of Use | Contact | Sitemap