- Home
- How to hand carve wood
- Low relief carving
Simple low relief carving tutorial
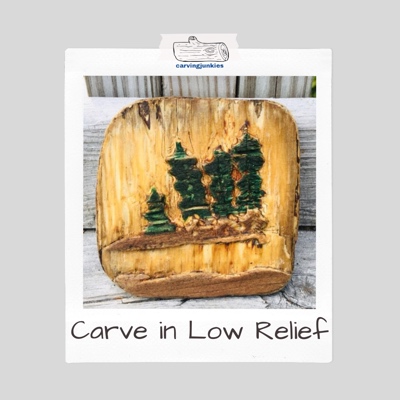
Using found wood makes your carving more interesting.
Low relief carving is an art form that can be a little intimidating at first, but once you get the hang of it, it is a lot of fun.
Here on Swan's Island in Maine, there is a ton of natural wood that can be found along the many ocean coves that make up this magical island (you can only get here by ferry boat).
In case you're wondering, we are not two of the 350 people who live on the island. We just have the good fortune to be vacationing here.
A bike ride to a (mistaken) destination provided a gorgeous view that became the inspiration for this low relief carving tutorial.
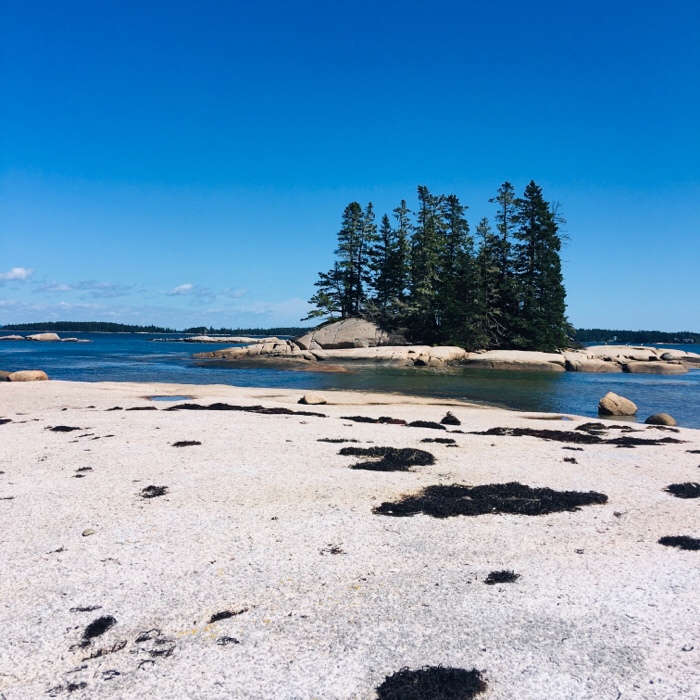 Our low relief carving inspiration
We were looking for a place called Martini Point. We thought we found it, until a lovely woman appeared and explained that we were gazing at her backyard.
She graciously allowed us to traipse through her deck to get to her backyard, where we enjoyed a lovely lunch and views of the mountains in Acadia, the ferry, and the true Martini Point, which was not as beautiful.
While treasure hunting, we found a piece of weathered wood that may have originally been a piece of plywood (photo 1).
We wanted to keep the background so we used the technique of low relief carving (or bas relief carving) to keep the overall shape and preserve the wood.
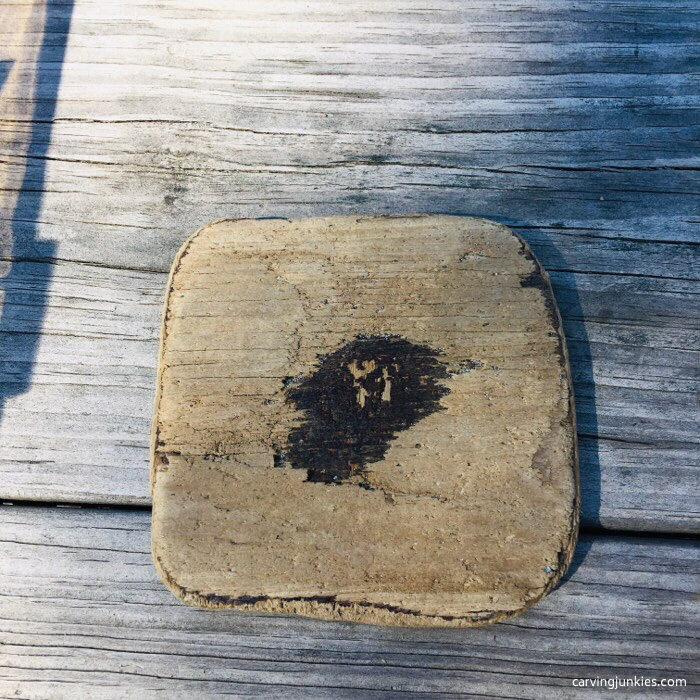 1. Original wood (other side was not blemished)
Low relief carving tutorial at a glance
Starting the low relief carving
The first step is to sketch your drawing in pencil.
We used magic marker so you can see it better in the photo below (photo 2).
Of course, every piece of wood found in nature is unique so you may have to come up with a design of your own to fit your wood.
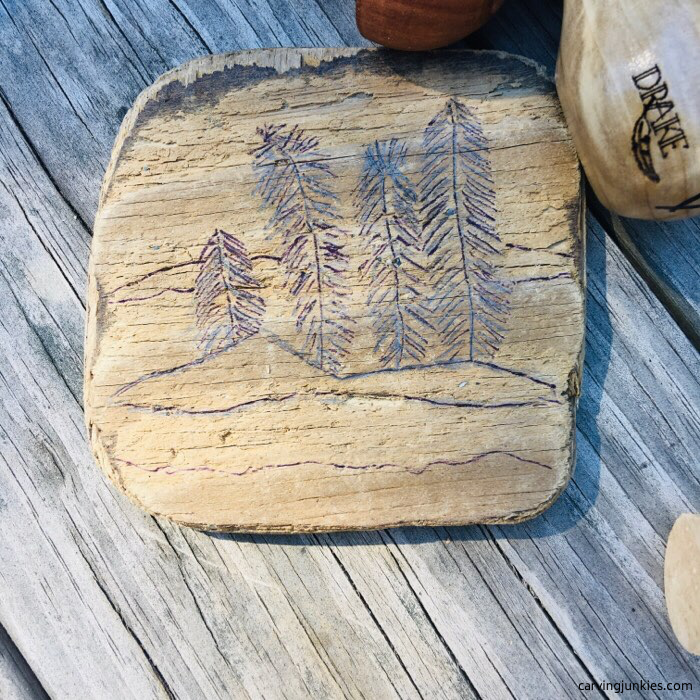 2. Low relief carving design is drawn on the wood
Cutting your low relief carving
We made a series of stop cuts using a fishtail gouge and removed wood from underneath each stop cut.
Weathered wood crumbles very easily so you have to go slow and be sure your initial stop cuts are deep enough (photo 3).
It may help to rock the gouge back and forth to get a deep cut.
Using the gouge, we outlined areas to be cut (usually making a triangle or a square for easy removal). Then we carefully removed the wood within the outline (photo 4). This was a faster method for removing wood with our low relief carving.
Since this low relief carving is quite small, and the wood was fragile, we did not use a mallet to chip away wood (also because we we didn't pack one!).
If working on a large piece of wood, we would definitely want to use a mallet. As always, wear a protective carving glove for safety.
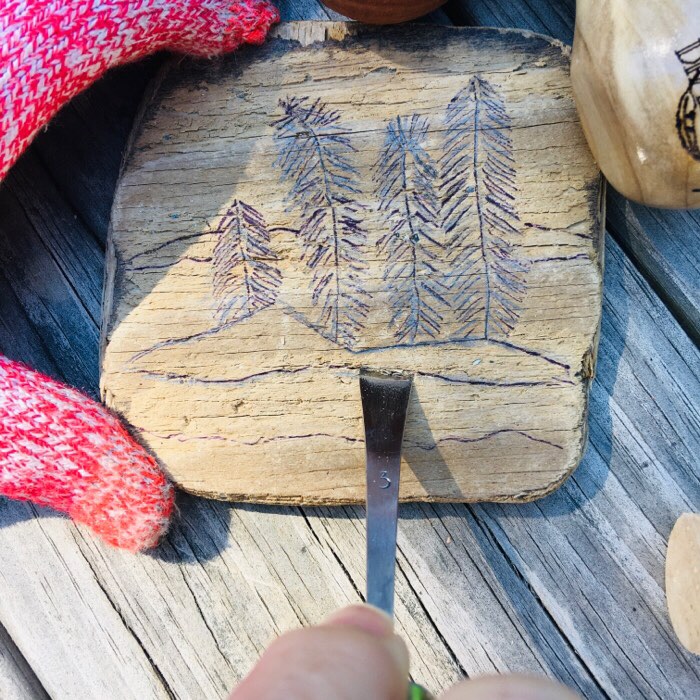 3. Making a stop cut with fishtail gouge
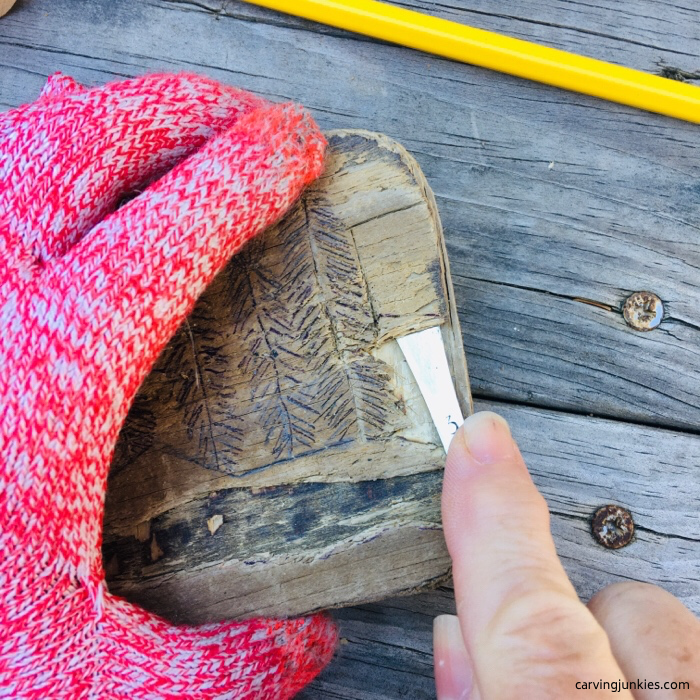 4. Removing pieces carefully
Roughout your low relief carving before starting details
Before carving little details on weathered wood, it is a good idea to rough out all the wood around your design.
We made the mistake of cutting lines for the pine tree leaves before roughing the design out. This weakened the fibers of the weathered wood and resulted in a lot of chipping (photo 5).
Next time, we would add those details last, after the general shape of the low relief carving has been roughed out (photo 6).
We also used the fishtail gouge to recut angled points on the tops of the trees that chipped off (photo 7).
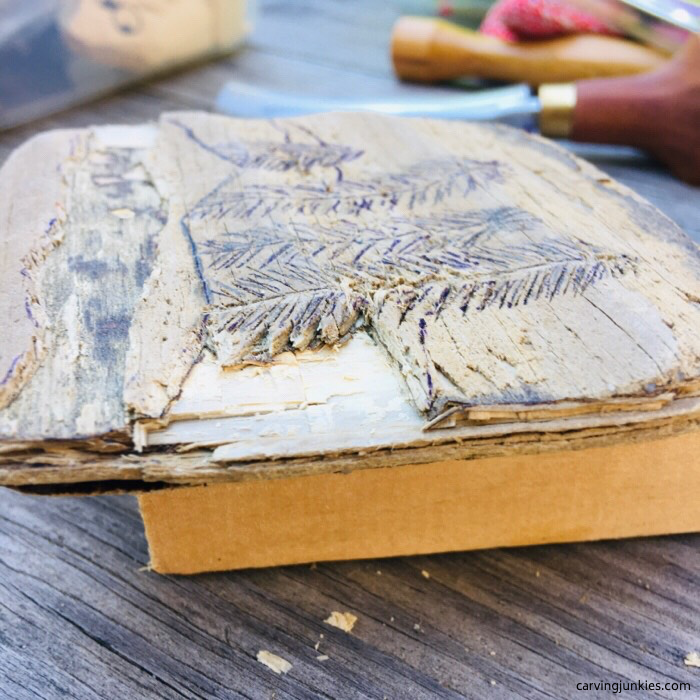 5. Starting to take shape but some crumbling
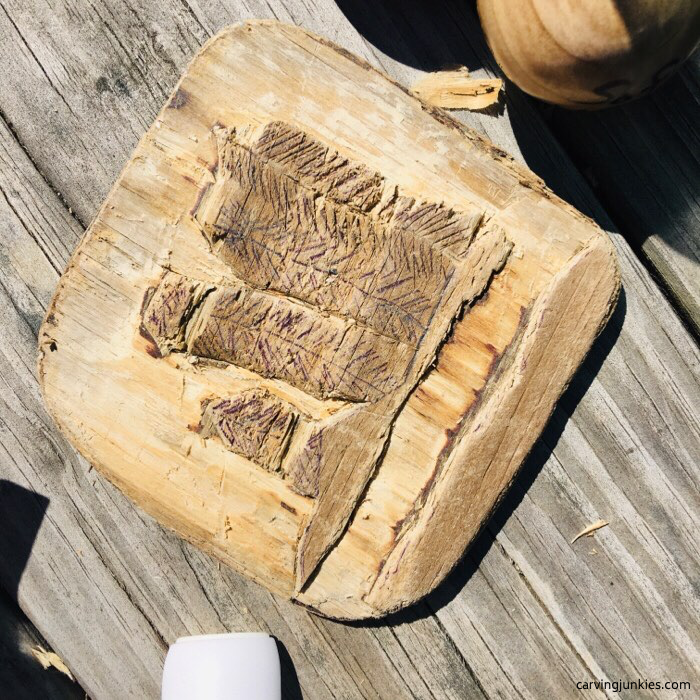 6. Almost completely roughed out
 7. Recutting the triangle tree tops
Adding details to your low relief carving
At this point, we switched to a pocket knife to cut the jagged edges of the pine tree leaves (photo 8).
This wasn't ideal and led to more wood chipping.
On a whim, we tried our new soft V-tool (photo 9). It was perfect for "punching out" sections around the trees. It also created a nice texture (photo 10).
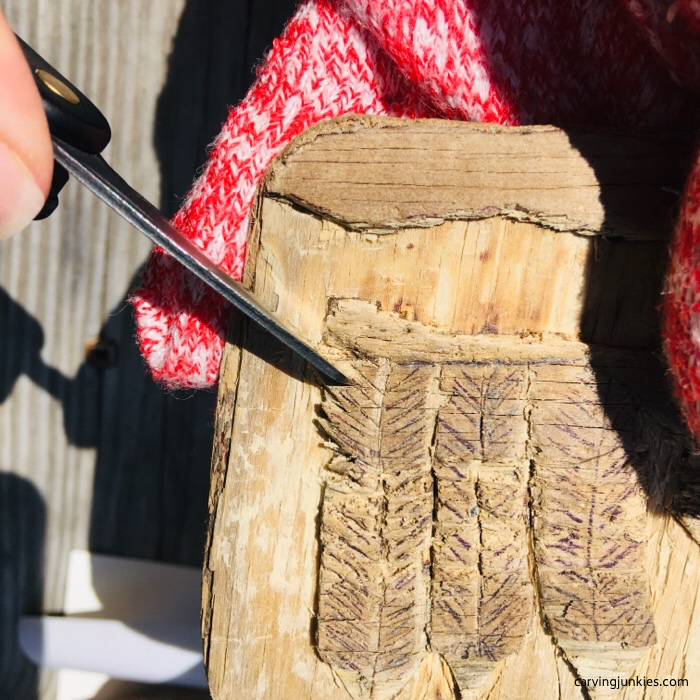 8. Pocket knife wasn't ideal
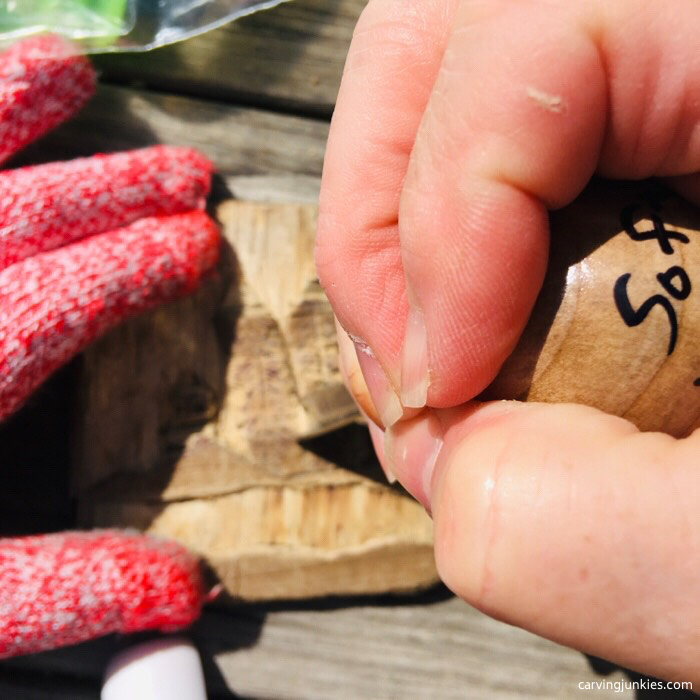 9. Soft V-tool made shaping easier
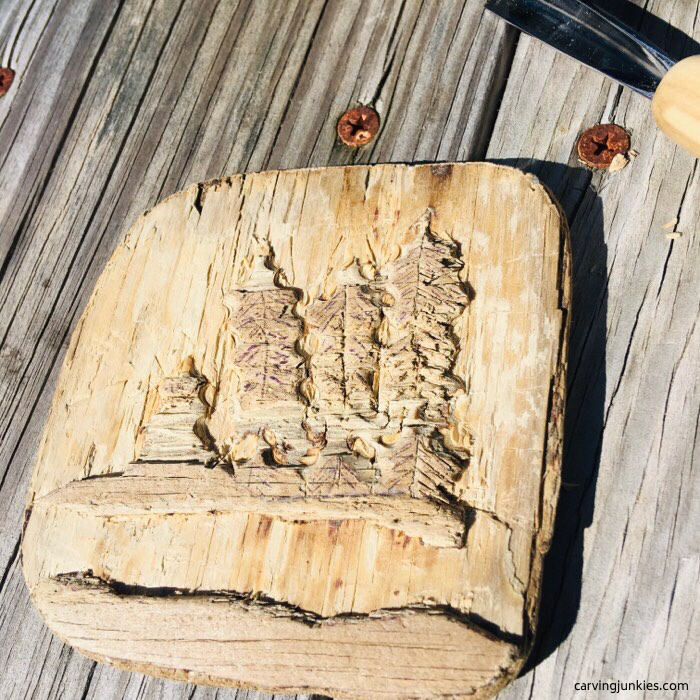 10. Trees now have desired shape and texture
Finishing your low relief carving
Since we're not at home (and the only store on Swan's Island didn't have boiled linseed or mineral oil), we ended up using vegetable oil to finish this low relief carving.
It really made the wood pop (photos 11,12).
However, it felt like the color of the pine trees was missing. On another whim, we tried a dark green magic maker rather than acrylic paint. The added color really helped finish the low relief carving (photo 13).
Now have the perfect memento from our fabulous vacation to hang at home.
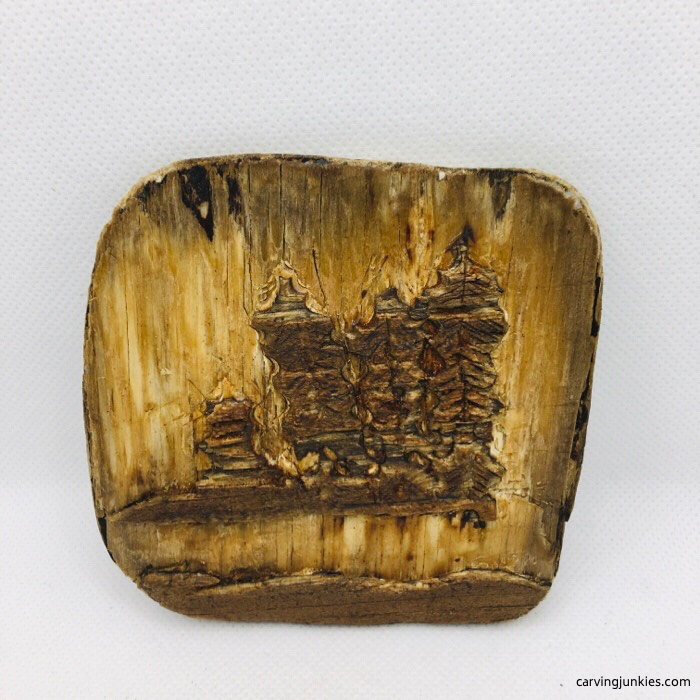 11. After applying vegetable oil
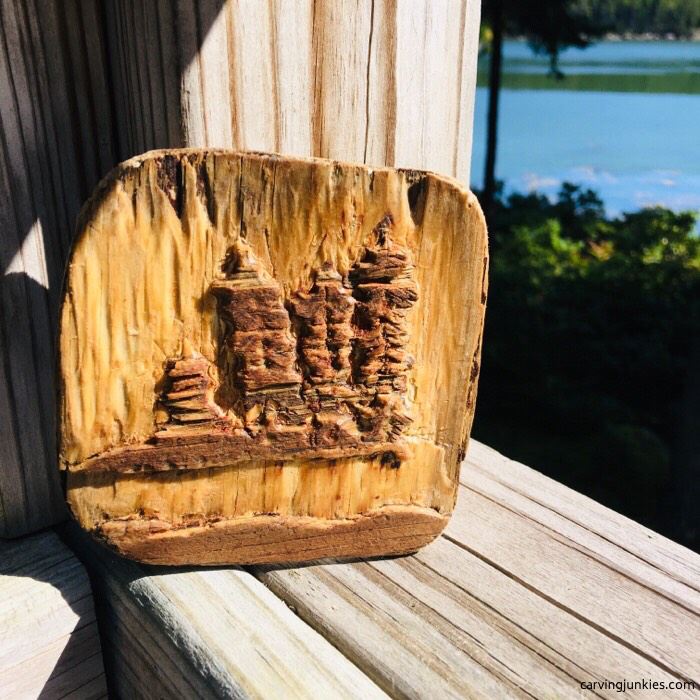 12. Details pop in the sunlight
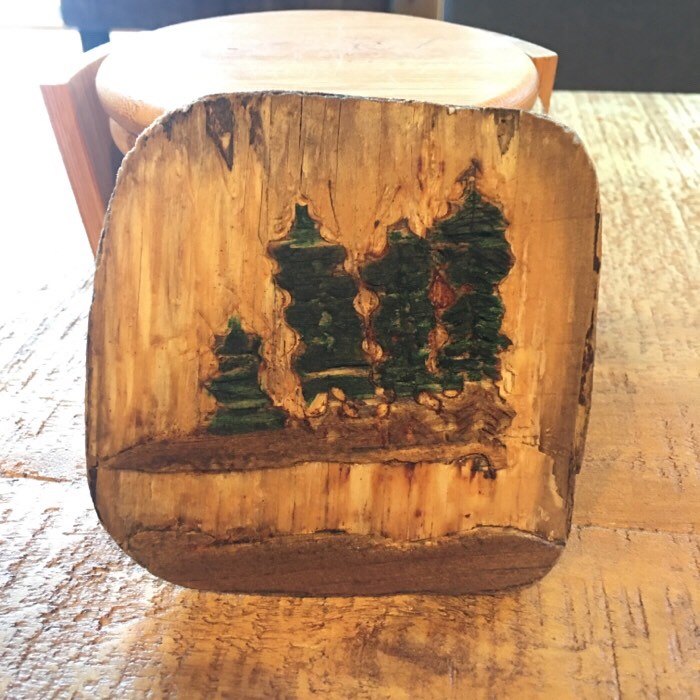 13. Touch of color helps accentuate the pine trees
Low relief carving tutorial summary
- Weathered wood is interesting to carve but you have to go slow or risk significant chipping.
- You need to be flexible with your low relief carving design as wood does not always obey!
- Next time, we'd like to try a fresh piece of wood for a low relief carving.
- However, the natural colors of a low relief carving in weathered wood really pop with a coat of oil.
- To learn more about beautiful Swan's Island, click here.
Get 50 Wood Carving & Painting Tips when you join our FREE Covered in Chips club.
Share this page
carvingjunkies.com never sells your personal information.
This site uses cookies for its operation and to enhance your experience. As an Amazon Associate and Focuser Carving affiliate we earn from qualifying purchases.
Home | About Us | Privacy Policy | Terms of Use | Contact | Sitemap
