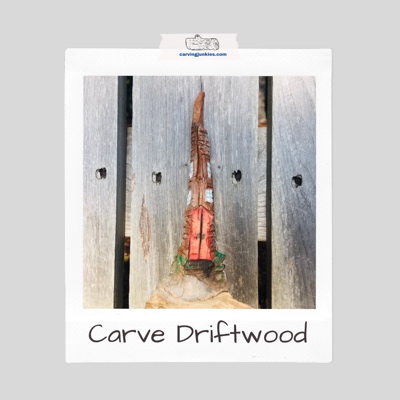
- Home
- Things to carve
- Driftwood carving
Driftwood carving tutorial
Weathered wood can be challenging and beautiful.
Driftwood carving is the best of times, especially when your design comes to life.
It can also be the worst of times, particularly when the wood chips off throughout your carving.
If you persevere, however, you will be delighted with your driftwood carving.
Driftwood carving tutorial at a glance
Find your driftwood
The first step is to find a piece of driftwood that is suitable for carving.
While on vacation in Swan's Island, Maine, we came across some beautiful driftwood (photo 1) that we believe is from the pine trees that line the beautiful ocean cove where we are staying (photo 2).
The deck on the house we rented was a glorious and peaceful place to carve (photo 3).
If you are not near a beach, you can buy driftwood online. Just type "buying driftwood" into your browser.
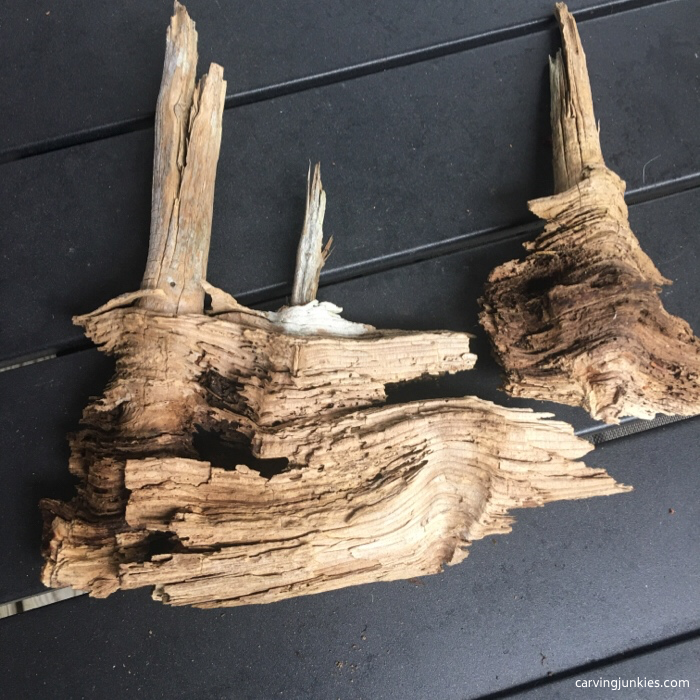 1. Two cool pieces of driftwood that we found
The top parts looked and felt like traditional driftwood while the bottoms looked more like bark.
After letting the pieces sit for a few days, the little piece definitely needed to be a sea castle.
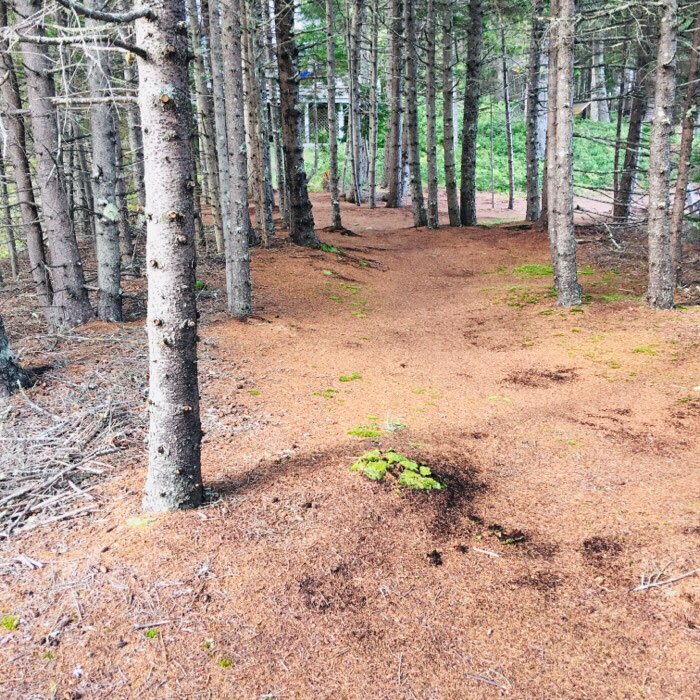 2. Pine forest surrounded by the sea
 3. Perfect view for carving
Drawing the pattern
Driftwood can vary in size and shape. You may have to adapt your pattern to fit your wood. That's half the fun of driftwood carving... deciding what your piece should be.
This sea castle driftwood carving features a shingle design with 4 windows and a double door (photo 4). The back also features the shingles (photo 5).
There wasn't any noticeable sand on the wood, but if there was, we would have cleaned it with a power washer and a stiff brush first.
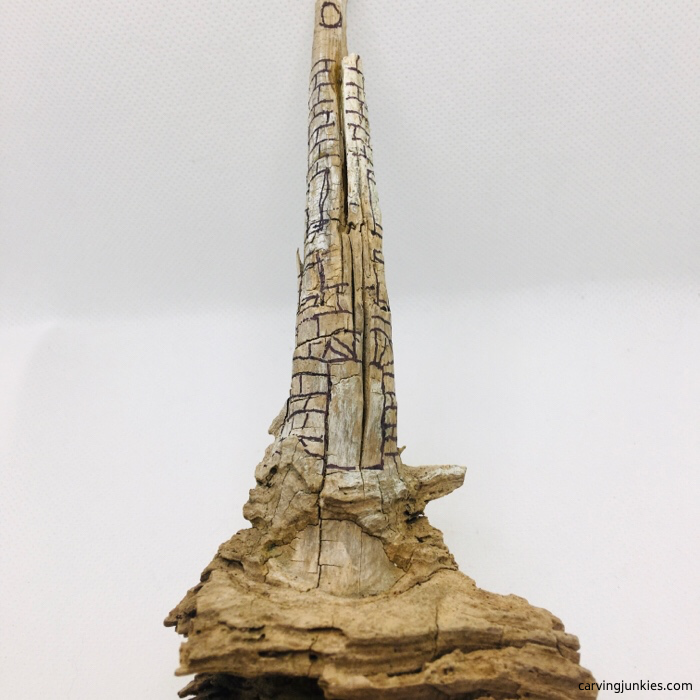 4. Design is drawn (front view)
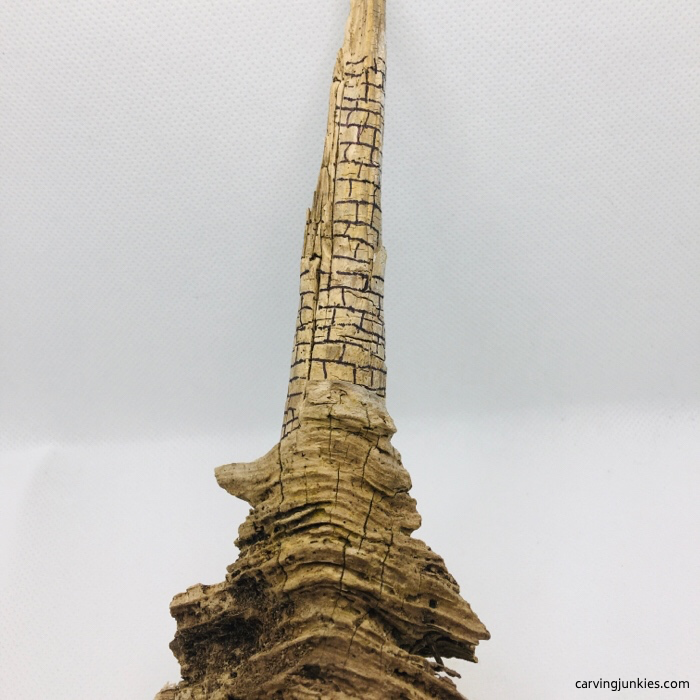 5. Back view of drawn design
Before cutting your driftwood carving
This driftwood did not cut easily and it was prone to chipping.
We started with a roughout knife (photo 6), but quickly switched to a pocket knife (photo 7).
We don't suggest using your best or most expensive knives on driftwood, unless you are willing to risk a nick in your knife! You will also probably need to strop your knife more frequently than usual.
Another option is using a knife with replaceable (or disposable) blades.
As always, wear a good carving glove for safety.
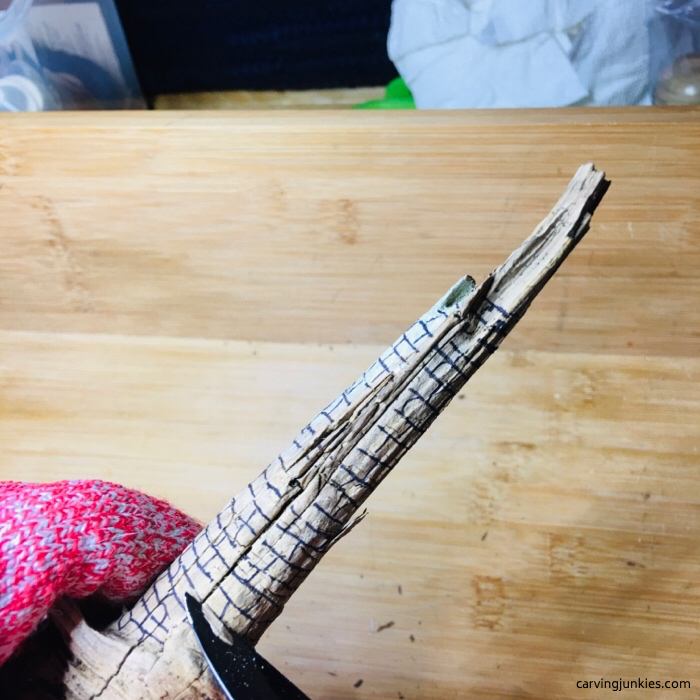 6. Started with a roughout knife
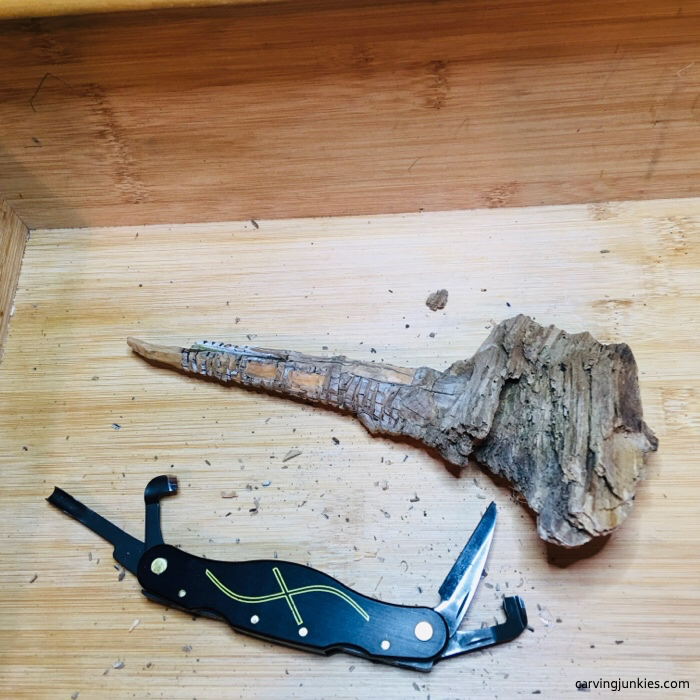 7. Switched to our Flexcut Pocket Jack
Define the shingles, doors, and windows on your driftwood carving
- Use stop cuts to outline the doors and windows and remove wood from underneath (photo 8).
- Carve all the shingle lines horizontally first, then cut the vertical lines (photo 9).
- Take your time and slowly work your way up the piece to avoid chipping.
- Shave the bottom of the door down to create a wider top step (photo 10).
- Note: our design for a curved arch over the doors caused the wood to fracture so we created angles instead (photo 9).
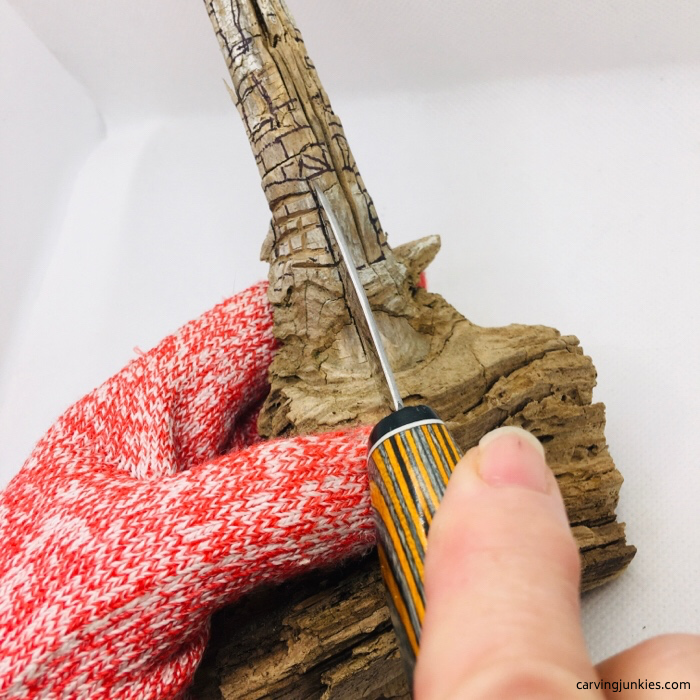 8. Outlining the door
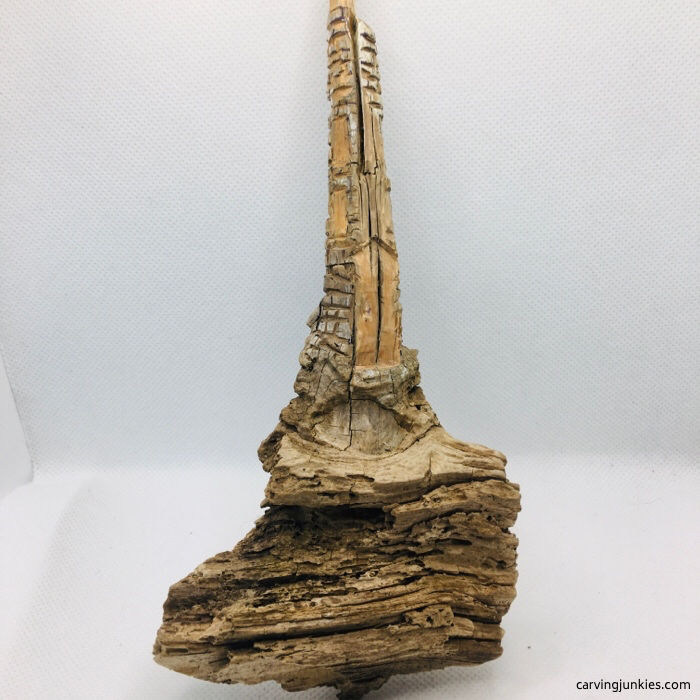 9. The details are carved
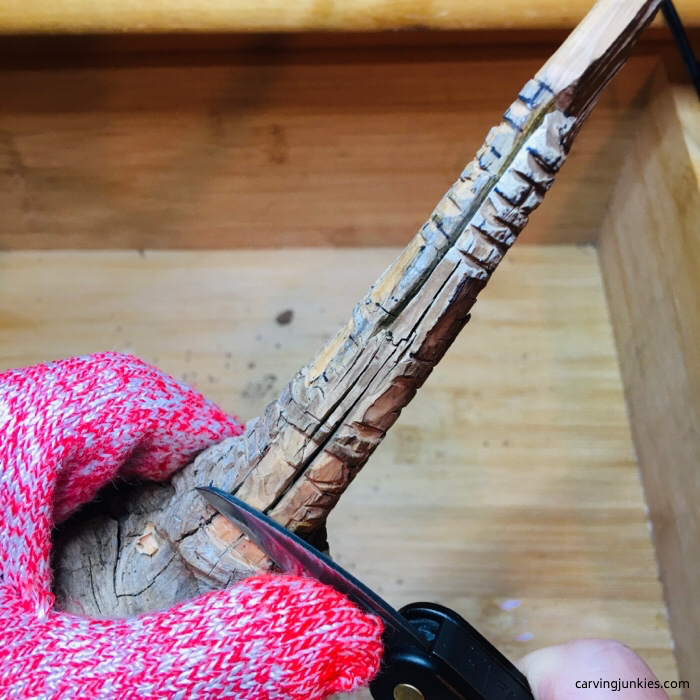 10. Widening the top step
Paint your driftwood carving
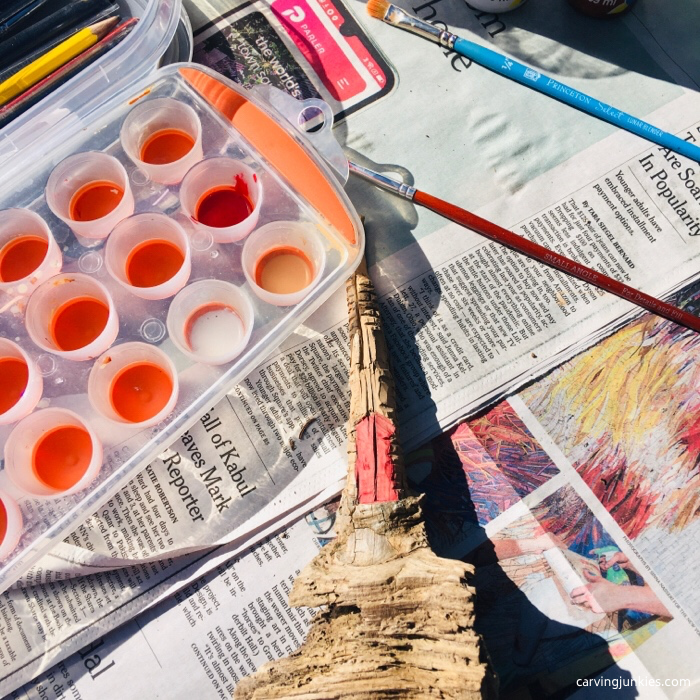 Painting the carving
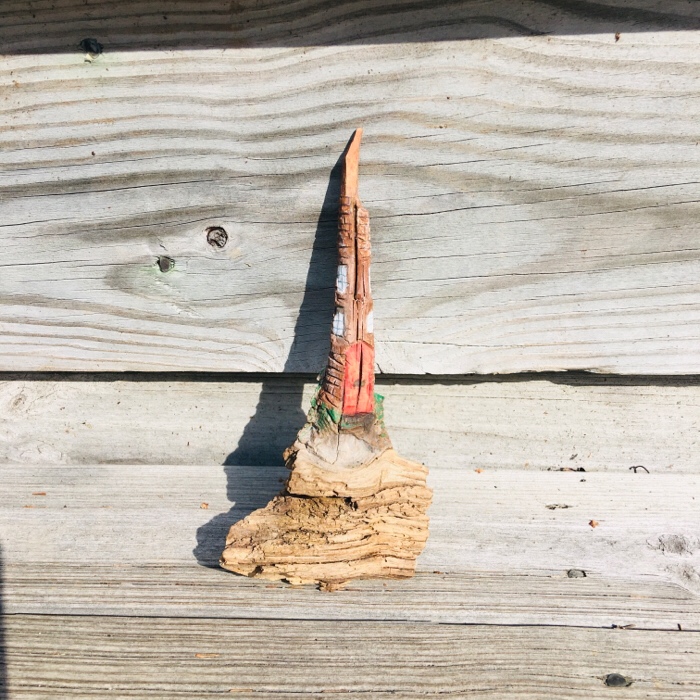 Front view of finished driftwood carving
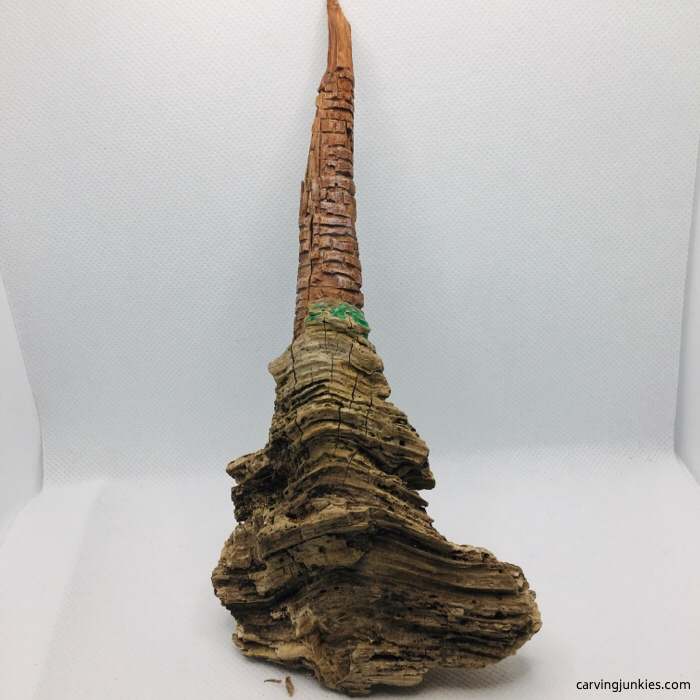 Back view of driftwood carving
To get a similar look for your driftwood carving (all paints are CraftSmart except where noted):
- Doors: 1 drop of Artist’s Acrylic cadmium red deep hue mixed with 5 drops of water.
- Windows: 2 drops white paint mixed with 5 drops of water.
- Walkway: 1 dry of black paint mixed with 3 drops of water.
- Under walkway: 1 drop of steel gray paint mixed with 5 drops of water.
- Moss: 2 drops of grass green paint mixed with 1 drop of water and applied with a toothpick
- Window panes: gray magic marker.
- Finish with polyurethane spray (not pictured because we didn't pack any).
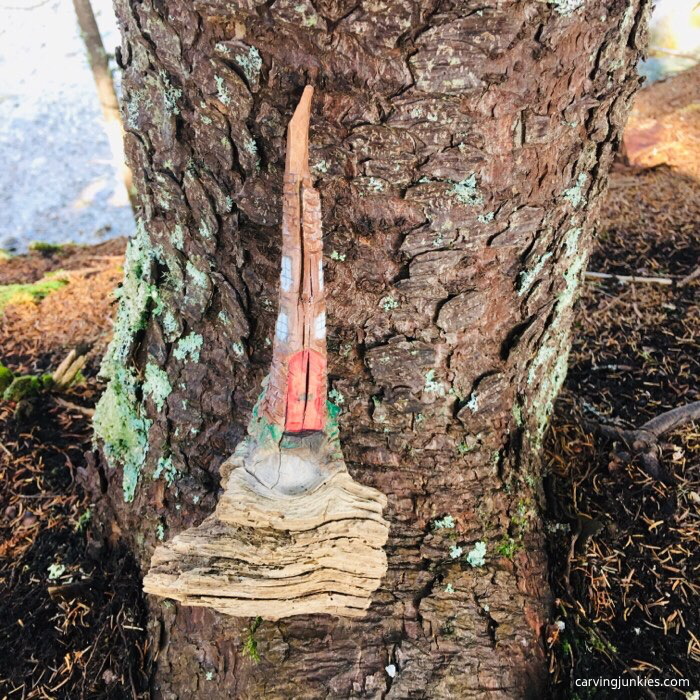 Add a small gnome to complete the picture
Summary of our driftwood carving tutorial
- Driftwood can be hard to cut, yet may also be fragile.
- You need to go slow and make smaller cuts to avoid chipping.
- Use a sturdy knife and strop it frequently.
- The natural aspects of the wood enhance your carving.
Get 50 Wood Carving & Painting Tips when you join our FREE Covered in Chips club.
Share this page
carvingjunkies.com never sells your personal information.
This site uses cookies for its operation and to enhance your experience. As an Amazon Associate and Focuser Carving affiliate we earn from qualifying purchases.
Home | About Us | Privacy Policy | Terms of Use | Contact | Sitemap
