- Home
- Things to carve
- Fortune cookie wood carving
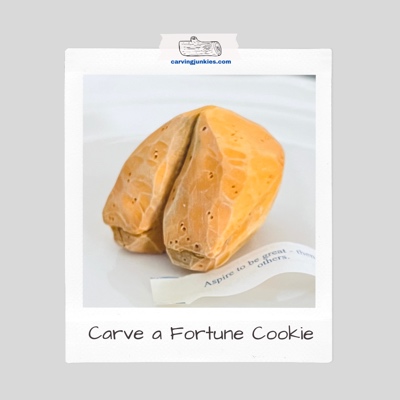
Fun fortune cookie wood carving
Carve yourself a fortune cookie with a personalized message.
LEVEL: SOME CHALLENGES
This fortune cookie wood carving is so simple, yet provides the challenge of maintaining symmetry. It makes a perfect little gift that can be customized with a personalized message.
You may have to carve against the grain in some areas of this wood carving. Make sure you strop your knife every 30 minutes and take breaks when you need to.
Another tip is to hold your piece so you are always carving ”downhill.” In other words, carve from one side down to the middle point, and then carve from the other side down to the same middle point. This may make carving easier than carving in the same direction straight across.
What you will need for your fortune cookie wood carving
I used a basswood block that is 1.5 inches (3. 8 cm) square. The carving ends up being slightly bigger than a real fortune cookie.
You will need a sturdy knife. You will also need a ruler, and a pencil or pen. I strongly recommend that you use a real fortune cookie for reference. It also helps you see how similar the bottom needs to be to the top.
Always wear a carving glove for safety and protect your lap with a piece of wood (if you’re a lap carver). Even with a glove, I managed to nick my thumb on this carving (due to the tough end grain). I skipped protecting my thumb with vet tape while making a paring cut—and paid the price for it. Please be careful, and take your time.
A painting guide is included at the end if you want the same look. Use whatever acrylic paint and brushes that you want. Painting is super easy on this one!
Fortune cookie wood carving tutorial at-a-glance
Watch this short video before you start to see the key steps for this fortune cookie wood carving tutorial.
Starting your fortune cookie wood carving
On the front of your wood block, draw a line across that is about 1/4 inch (0.64 cm) from the bottom of the block (photo 1). Also, draw a center line that runs vertically through the block (photo 1).
On the back, draw a line across that is about 1/2 inch (1.3 cm) from the top, which marks the top half of your fortune cookie (photo 2). Mark a small triangle in each corner that is 1/4 inch (0.64 cm) at it’s widest point (photo 2).
On the right side, draw a line at an angle that lines up with the line on the back and the line on the front (photo 3). Also, mark a corner triangle on the bottom that is 1/4 inch (0.64 cm) at the widest point, a triangle on the top-left that is 1/2 inch (1.3 cm) at the widest point, and a triangle at the top-right that is 3/4 inch (1.9 cm) at the widest point. Add the same triangles on the left side of your wood block (photo 4).
On the top of the block draw a center line. Mark an X about 1/2 inch (1.3 cm), (photo 5), to mark the point of your fortune cookie wood carving. Also, draw a center line on the bottom that runs about 1 and 1/4 inches (3.2 cm).
Don’t worry if your measurements are not exact to create your roughout. You will end up refining the shape later in this tutorial.
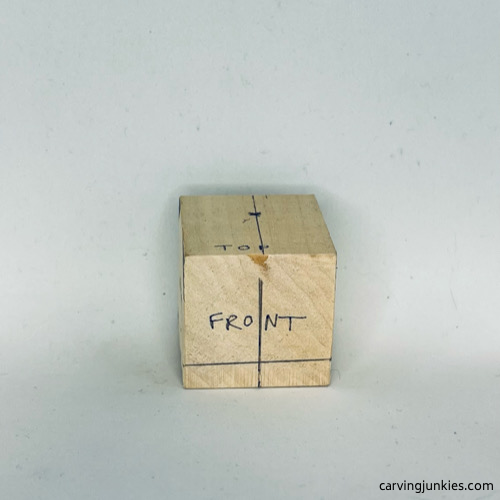 1. Front guidelines
 2. Back guidelines
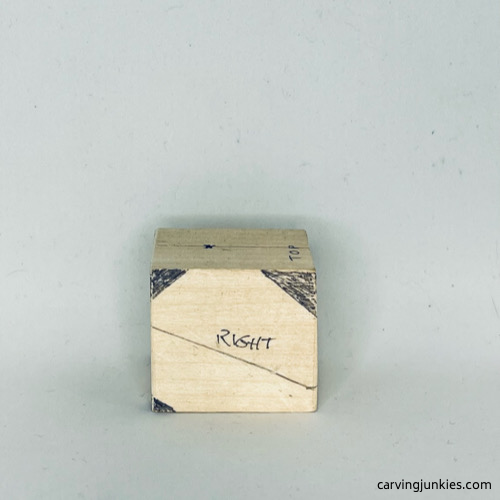 3. Right guidelines
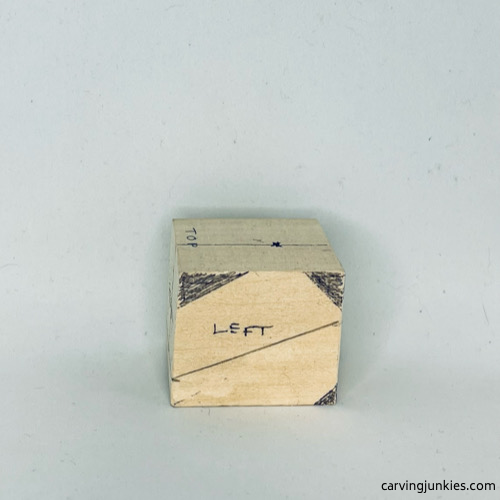 4. Left guidelines
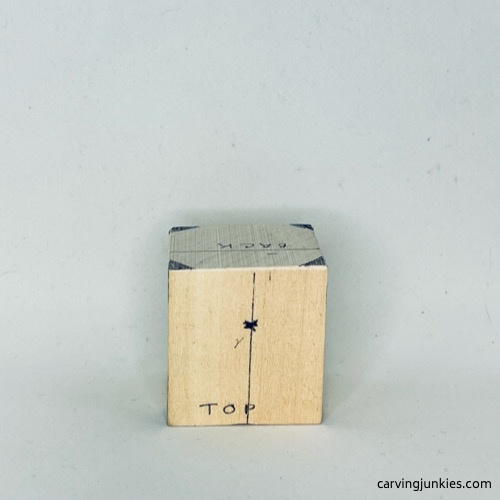 5. Top guidelines
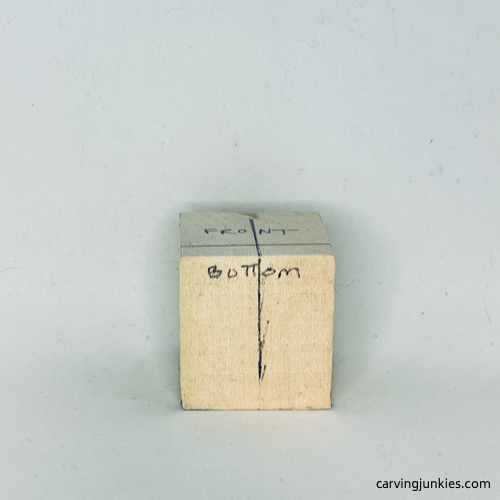 6. Bottom guidelines
Shape your fortune cookie wood carving
Slice off the top two back top corners on your fortune cookie wood carving (photo 7). Now, remove wood between the corners from the top down so the wood angles in toward the center (photos 8,9). Tip: Roll your wrist as you are making your cuts to cleanly shave wood off.
Repeat the same process on the front top corners of your fortune cookie wood carving. Tip: Draw additional guidelines on the top and front so you know where to start—and stop—removing wood (photo 10).
After you shape the front (photo 11) you may have to redraw your center line.
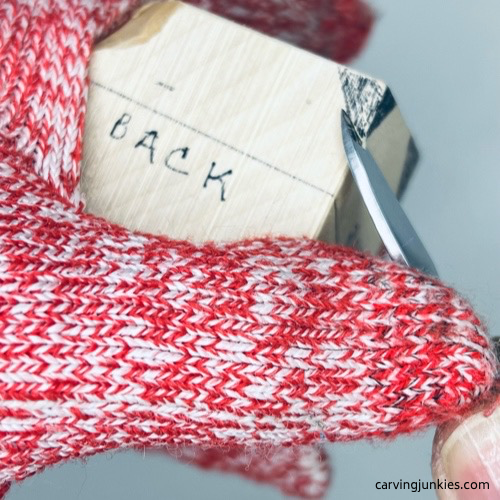 7. Removing wood from back corner
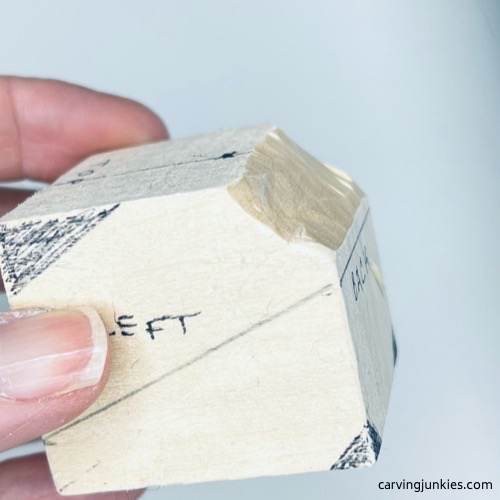 9. Wood is removed
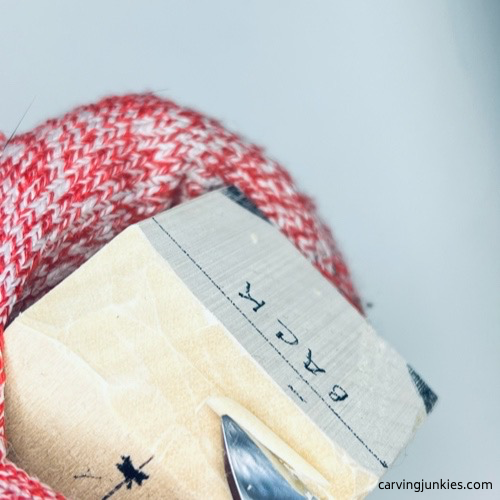 8. Removing wood at a downward angle
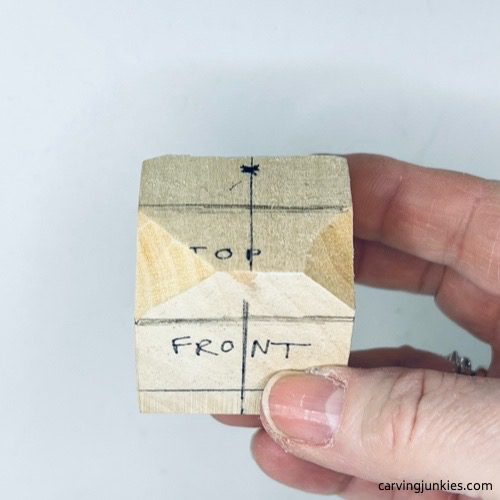 10. New guidelines are added
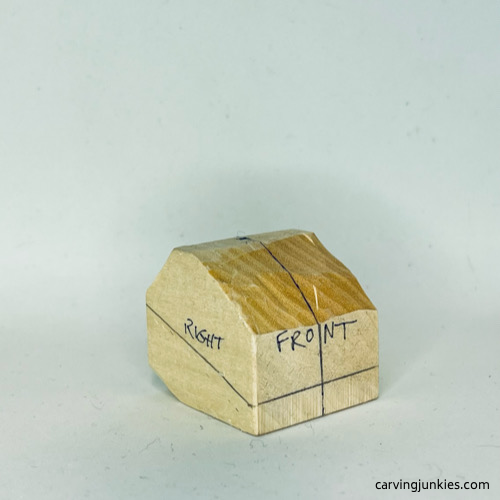 11. Center line is redrawn
Split your fortune cookie wood carving
Either hold your knife like a pencil, or make deep cuts along the guideline, to split your fortune cookie wood carving on the front (photo 12) and underneath. Make a narrow V-cut at the bottom (completed in photo 13).
Separate the top part of the cookie all around by making stop cuts, removing wood from underneath (photo 13). The top part of the cookie will hang over the bottom part all around.
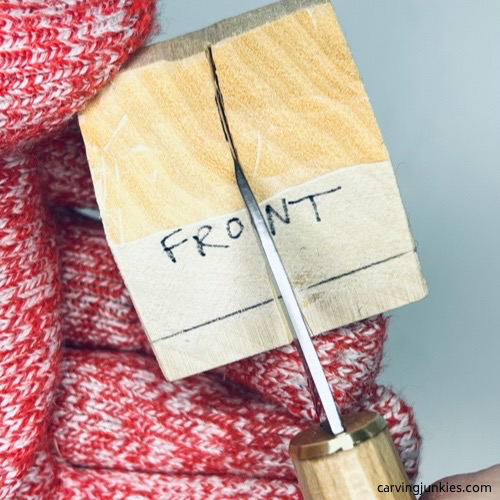 12. Splitting the front
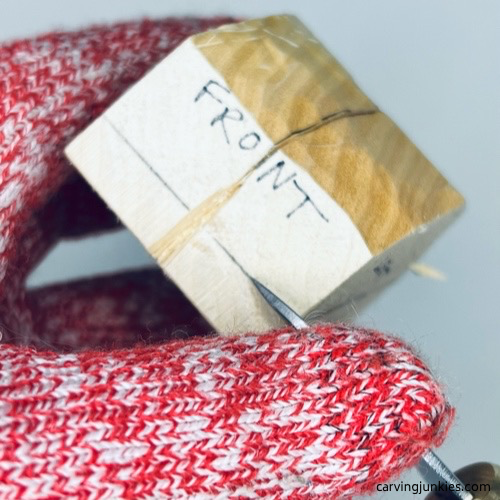 13. Separating the top all around
Mark your fortune cookie for additional shaping
Mark wood that you will remove to shape the back of your fortune cookie wood carving (photo 14). Your triangles should be about 1/2 inch (1.3 cm) at the widest point.
On each side (photos 15,16), add a top triangle that is about 1/4 inch (0.64 cm) at the widest point. On the bottom of each side, your triangle will be about half that width.
The triangles on the top (photo 17) are a little less than 1/4 inch (0.64 cm) at their widest point.
Again, don’t worry if your measurements are not exactly the same.
 14. Back is marked for shaping
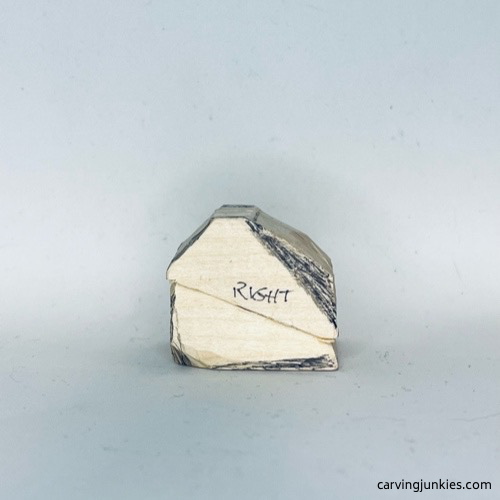 15. Right side is marked
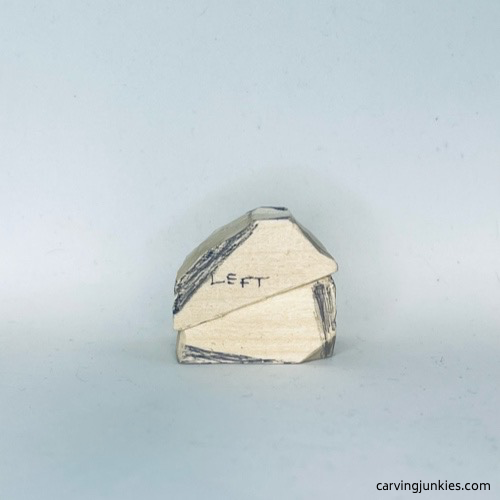 16. Left side is marked
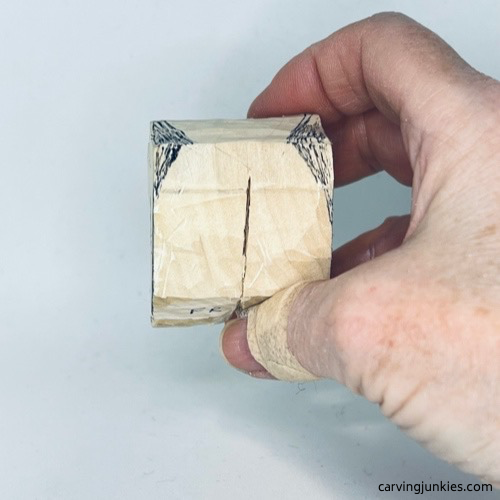 17. Top is marked
Narrow the shape of your fortune cookie wood carving
Reduce the thickness of the front top of your fortune cookie wood carving (photo 18). Shave wood off one side (completed in photo 19). Repeat on the other side.
Once both sides are shaped, mark wood for removal on the front to widen the fortune cookie opening (photo 20). Use a V-cut to remove the wood.
Using your knife, deepen your cuts around the ridge of the fortune cookie wood carving to add some shadow. Also, make small curved cuts around the ridge to mimic the ragged sides that fortune cookies often have (photo 21).
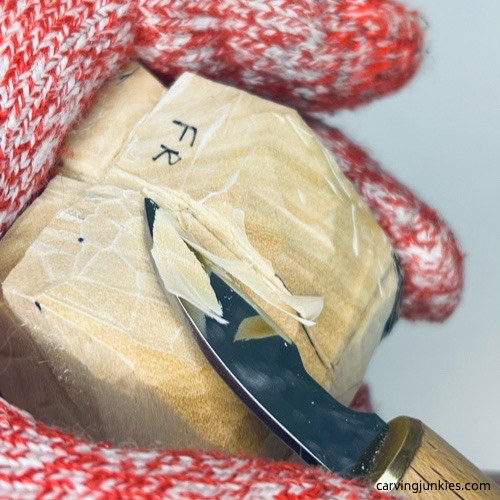 18. Removing wood from the top
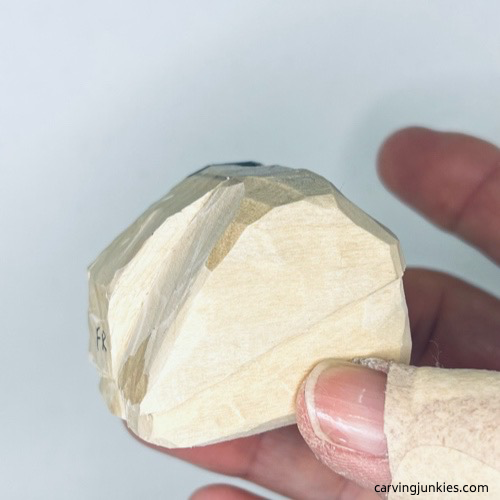 19. One half of the top is shaped
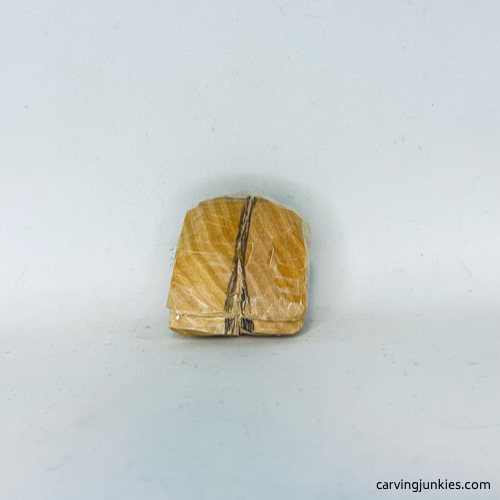 20. Wood is marked for removal
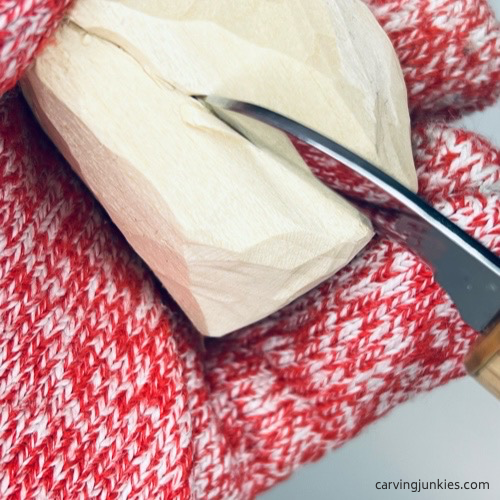 21. Carving the ridge
Refine the shape of your fortune cookie wood carving
Refine the shape of your fortune cookie wood carving all around. Frequently check to ensure that you have maintained symmetry. The top of your fortune cookie should be similar to the bottom.
Also, use your knife to round any sharp edges. When you are happy with the shape of your carving, you can use sandpaper to smooth the piece and remove wood fuzzies. Tip: Do not use your knife after using sandpaper.
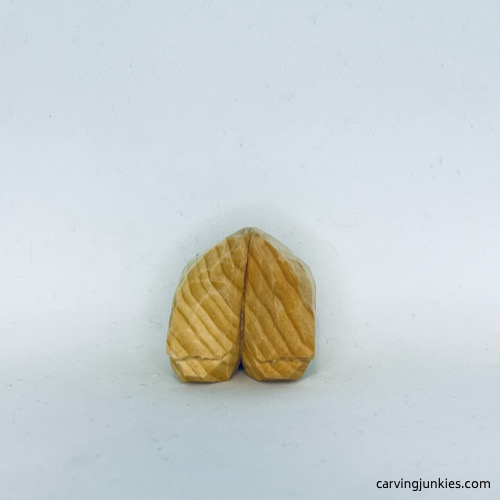 22. Front of unpainted fortune cookie
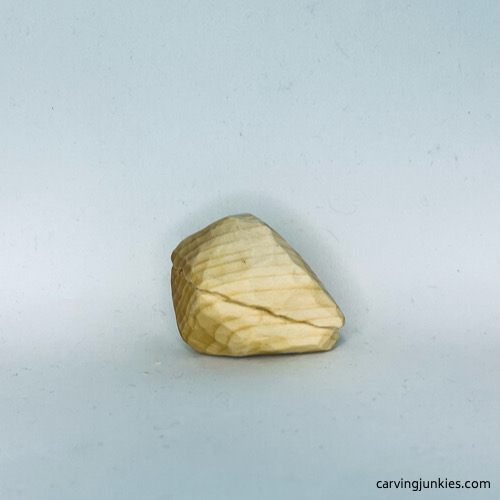 23. Right view of fortune cookie
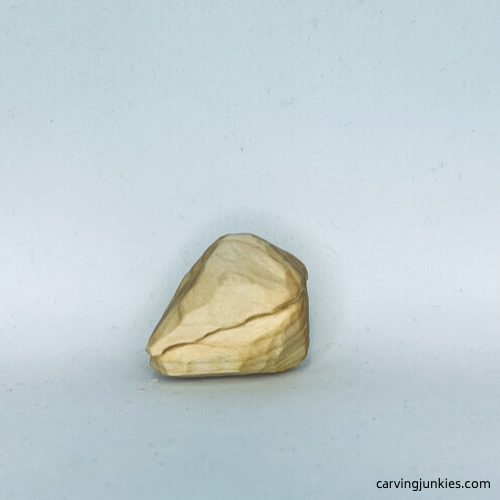 24. Left view of fortune cookie
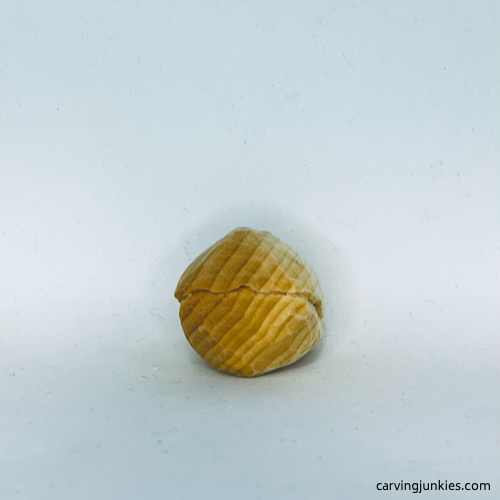 25. Back of fortune cookie
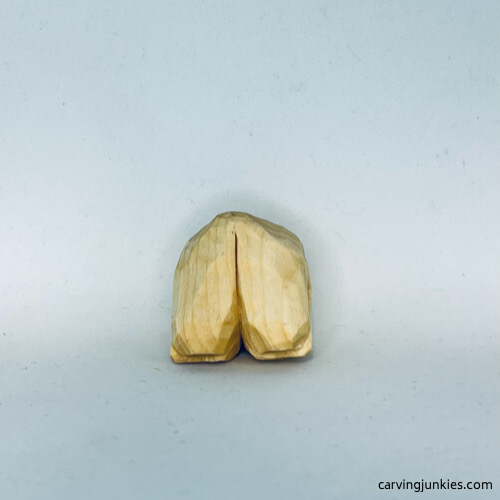 26. Bottom of fortune cookie
Painting your fortune cookie is easy!
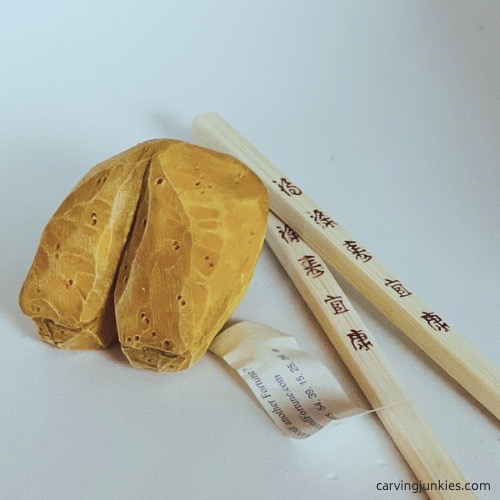 27. Painted fortune cookie wood carving
To get this same look, brush the entire fortune cookie with boiled linseed oil and set aside for 10 minutes.
Make a heavily diluted wash with 1 drop of Americana burnt umber and water. Use the wash to highlight the crevices where the fortune cookie is split and under the ragged edge all around.
Mix an acrylic paint wash with 3 drops of FolkArt yellow ochre, 2 drops Ceramcoat yellow, and 2 drops of Ceramcoat pumpkin. Add more water if necessary to thin your wash down. Cover the entire fortune cookie with this wash, including the crevices and ragged edges.
After the piece dries, use a thumbtack to add random little holes to make the fortune cookie look more realistic.
Use a finish of your choice or leave it unfinished like mine (photos 28-32).
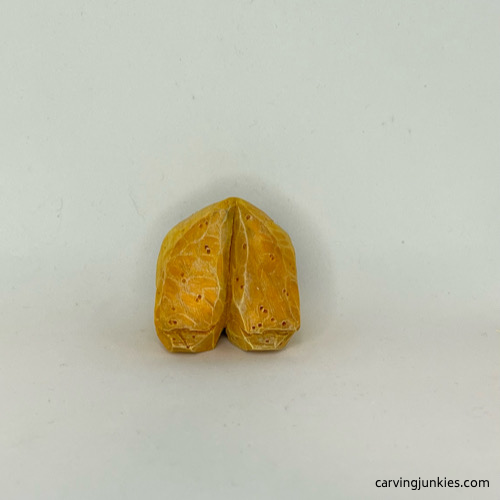 28. Front view of fortune cookie
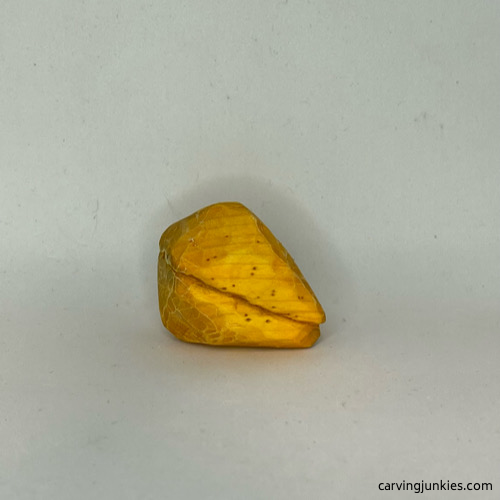 29. Right view of fortune cookie
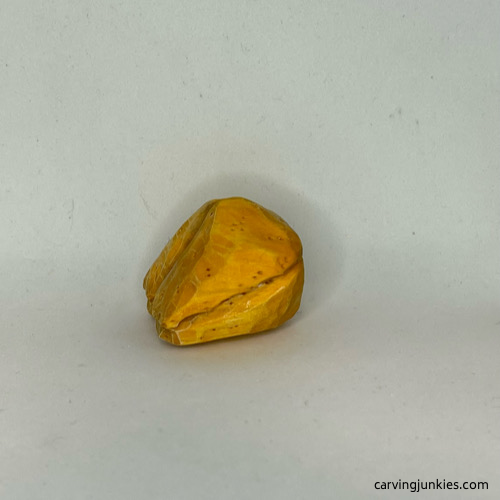 30. Right view of fortune cookie
 31. Back view of fortune cookie
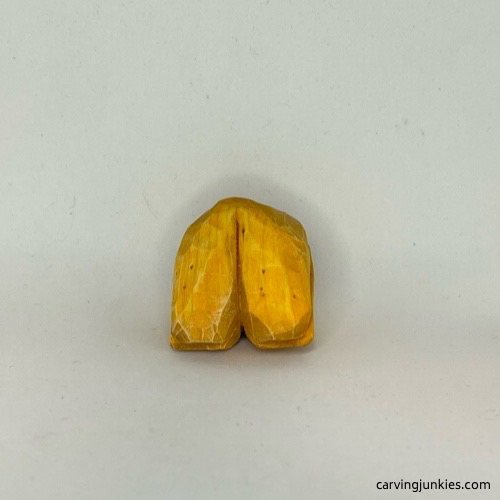 32. Bottom of fortune cookie
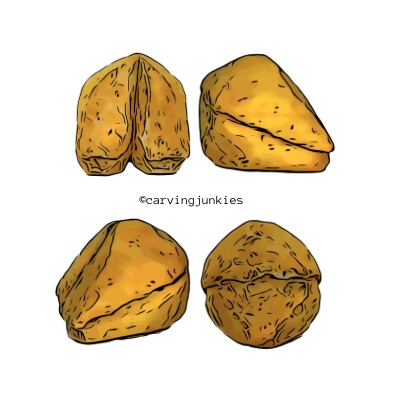
Free fortune cookie wood carving pattern
If you prefer to carve your fortune cookie with a pattern, photocopy this to size to fit your wood block.
Fortune cookie wood carving tutorial summary
- While this fortune cookie wood carving looks simple to carve, achieving symmetry on the top and bottom can be challenging.
- Feel free to paint your fortune cookie wood carving or simply use a light stain.
- Add a personal fortune cookie message on a slip of paper to create a wonderful, customized gift.
Get 50 Wood Carving & Painting Tips when you join our FREE Covered in Chips club.
Share this page
carvingjunkies.com never sells your personal information.
This site uses cookies for its operation and to enhance your experience. As an Amazon Associate and Focuser Carving affiliate we earn from qualifying purchases.
Home | About Us | Privacy Policy | Terms of Use | Contact | Sitemap
